🍓 Raspberry Pi Headless Setup in 9 Steps with Ubuntu 21.04
Hold-on, if you don't have a Raspberry Pi, yet, I can recommend these:
Step 1: 🍓 Get Raspberry Pi Imager
The Raspberry Pi Imager is used to install the OS on the microSD card. This program is compatible with MacOS, Windows, and Linux (click here to download).
Step 2: 🔌 Connect your microSD card to your computer
A microSD Card reader may be required depending on your computer setup.
I'm using this docker because I'm on a Mac:
Step 3: 🔥 Flash the Card with Ubuntu 21.04
Launch the Raspberry Pi Imager tool.

Depending on your Raspberry Pi, you'll need to select the appropriate operating system (64-bit vs 32-bit). I'm using the 64-bit version in this situation).
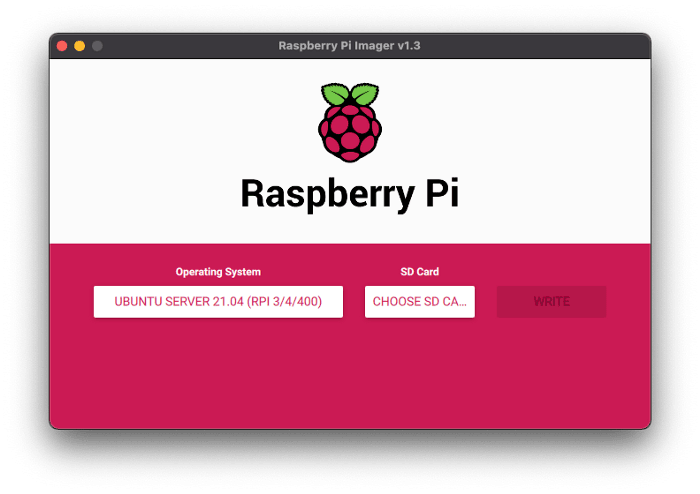
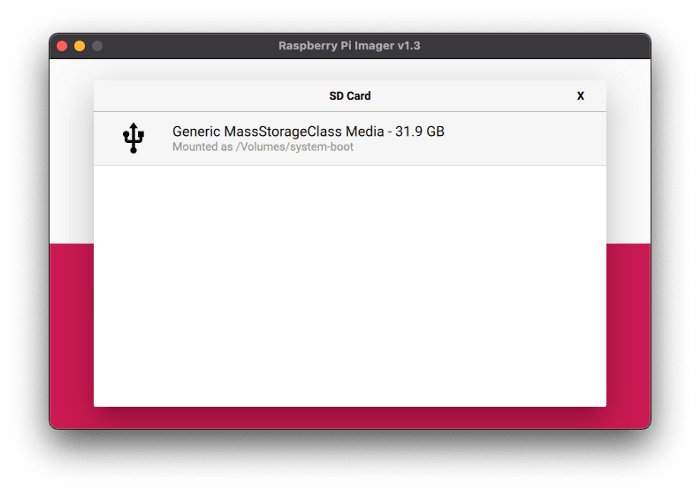
Now it's time to select the SD Card (be careful to select the correct one!).
Now that we're ready, we can click on the write button to flash the SD card.
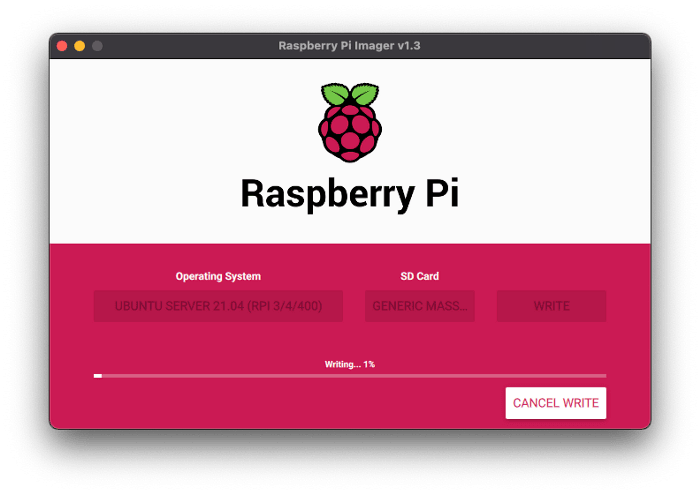
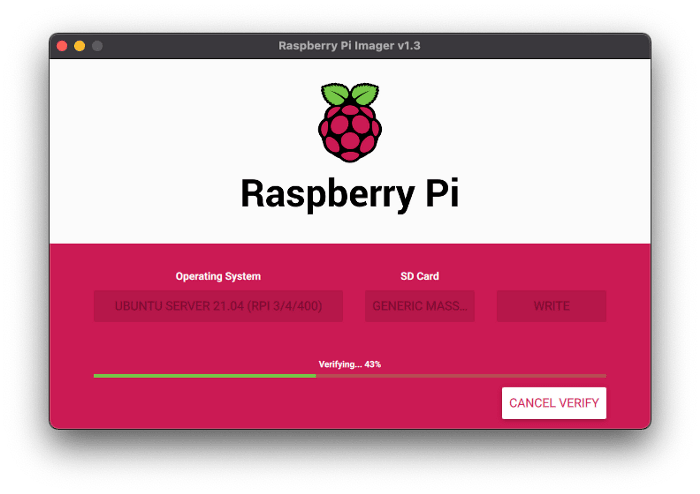
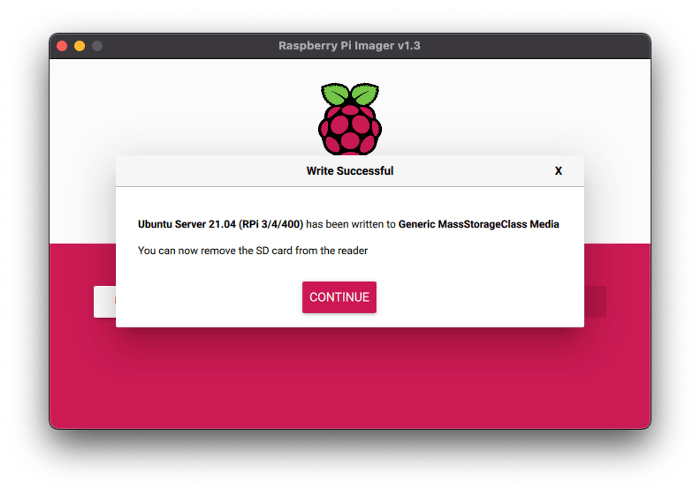
Your microSD card will be flashed after a few minutes of writing and validating.
Step 4: 📡 Establish a WiFi connection
Eject the microSD card and reconnect it to your computer.
Now look for the "network-config" file in the microSD card directory (in the root folder).
Use your favorite IDE to open it. In this tutorial, I'll be utilizing Visual Studio Code.
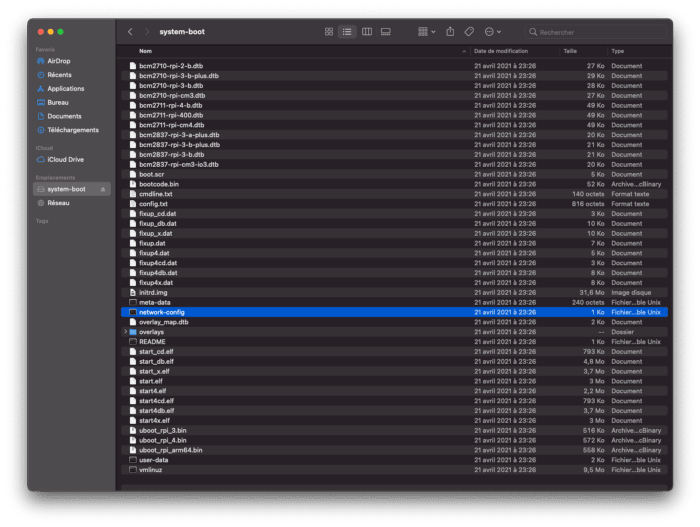
The initial content of this file should look like this:
#[...] some comments
version: 2
ethernets:
  eth0:
    dhcp4: true
    optional: true
#wifis:
#  wlan0:
#    dhcp4: true
#    optional: true
#    access-points:
#      myhomewifi:
#        password: "S3kr1t"
#      myworkwifi:
#        password: "correct battery horse staple"
#      workssid:
#        auth:
#          key-management: eap
#          method: peap
#          identity: "[email protected]"
#          password: "passw0rd"
#          ca-certificate: /etc/my_ca.pem
As you can see, a section dedicated to wifis has already been written and commented on.
Edit the file as following:
version: 2
ethernets:
  eth0:
    dhcp4: true
    optional: true
wifis:
  wlan0:
  dhcp4: true
  optional: true
  access-points:
    your_wifi_name:
    password: "your_password"
Save the file and remove the microSD card from your computer correctly.
Step 5: 🏁 Turn on your Raspberry Pi.
Let's plug the microSD card back into the Raspberry Pi and turn it on now that we have a correctly flashed microSD card and a wifi connection.
Step 6: 🏠 Determine the IP address of your Raspberry Pi.
To connect to our Raspberry Pi, we must first determine its IP address.
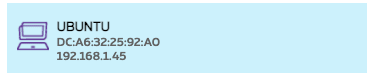
There are several options here. The simplest method is to connect to your internet provider's box and look for our Raspberry Pi's new Ubuntu Server.
Here we have:
Step 7: 🛰️ SSH connection
What exactly is an SSH connection?
SSH is often used to log into a remote machine and perform commands, according to Wikipedia.
Open a Terminal command now.
ssh [email protected]The default login is ubuntu, and @192.. is the IP address we found in the previous step.
The authenticity of host '192.168.1.45 (192.168.1.45)' can't be established.
ECDSA key fingerprint is SHA256:xxxxxx.
Are you sure you want to continue connecting (yes/no/[fingerprint])?
Type Yes.
Ubuntu is also the default password. After your first sign-in, you'll be prompted to change your password.
The connection will be immediately ended after the new password has been set. The ssh connection must be restarted with the new password you specified.
Step 8: 🍿 Enjoy
You're ready to go.
Comment ☝
Remember that we didn't give our Raspberry Pi a static IP address.
It means that the IP address will be updated dynamically (DHCP) over time.
Please see my next article if you require a static IP address (soon).
Post Scriptum
I recommend viewing this video if you want to learn more about the process.