✉️ How to Setup Mailgun in Ghost (self hosted, docker-compose)
This short blog post aims at helping those who are struggling (like me ) to setup properly Ghost and emails (using Mailgun).
I didn't find a lot of examples online, thus, I hope this methodology will help some people.
Mailgun
Mailgun is a Powerful APIs that enable you to send, receive and track email effortlessly

First of all, you have to know that I could setup Ghost with the free version of Mailgun. Actually, it's only working as a sandbox, and cannot be used to send transaction emails...
Here is the error I get when I'm using the sandbox domain.
Failed to send email. Reason: Data command failed - 421 Domain sandboxf3d5782960c94fb0ab88532620e41c77.mailgun.org is not allowed to send: Sandbox subdomains are for test purposes only. Please add your own domain or add the address to authorized recipients in Account Settings..Thus, once you created your account in Mailgun (including you credit card 🤑), you will be able to create a new domain (if you keep the free version, you won't see the Add Domain Button).
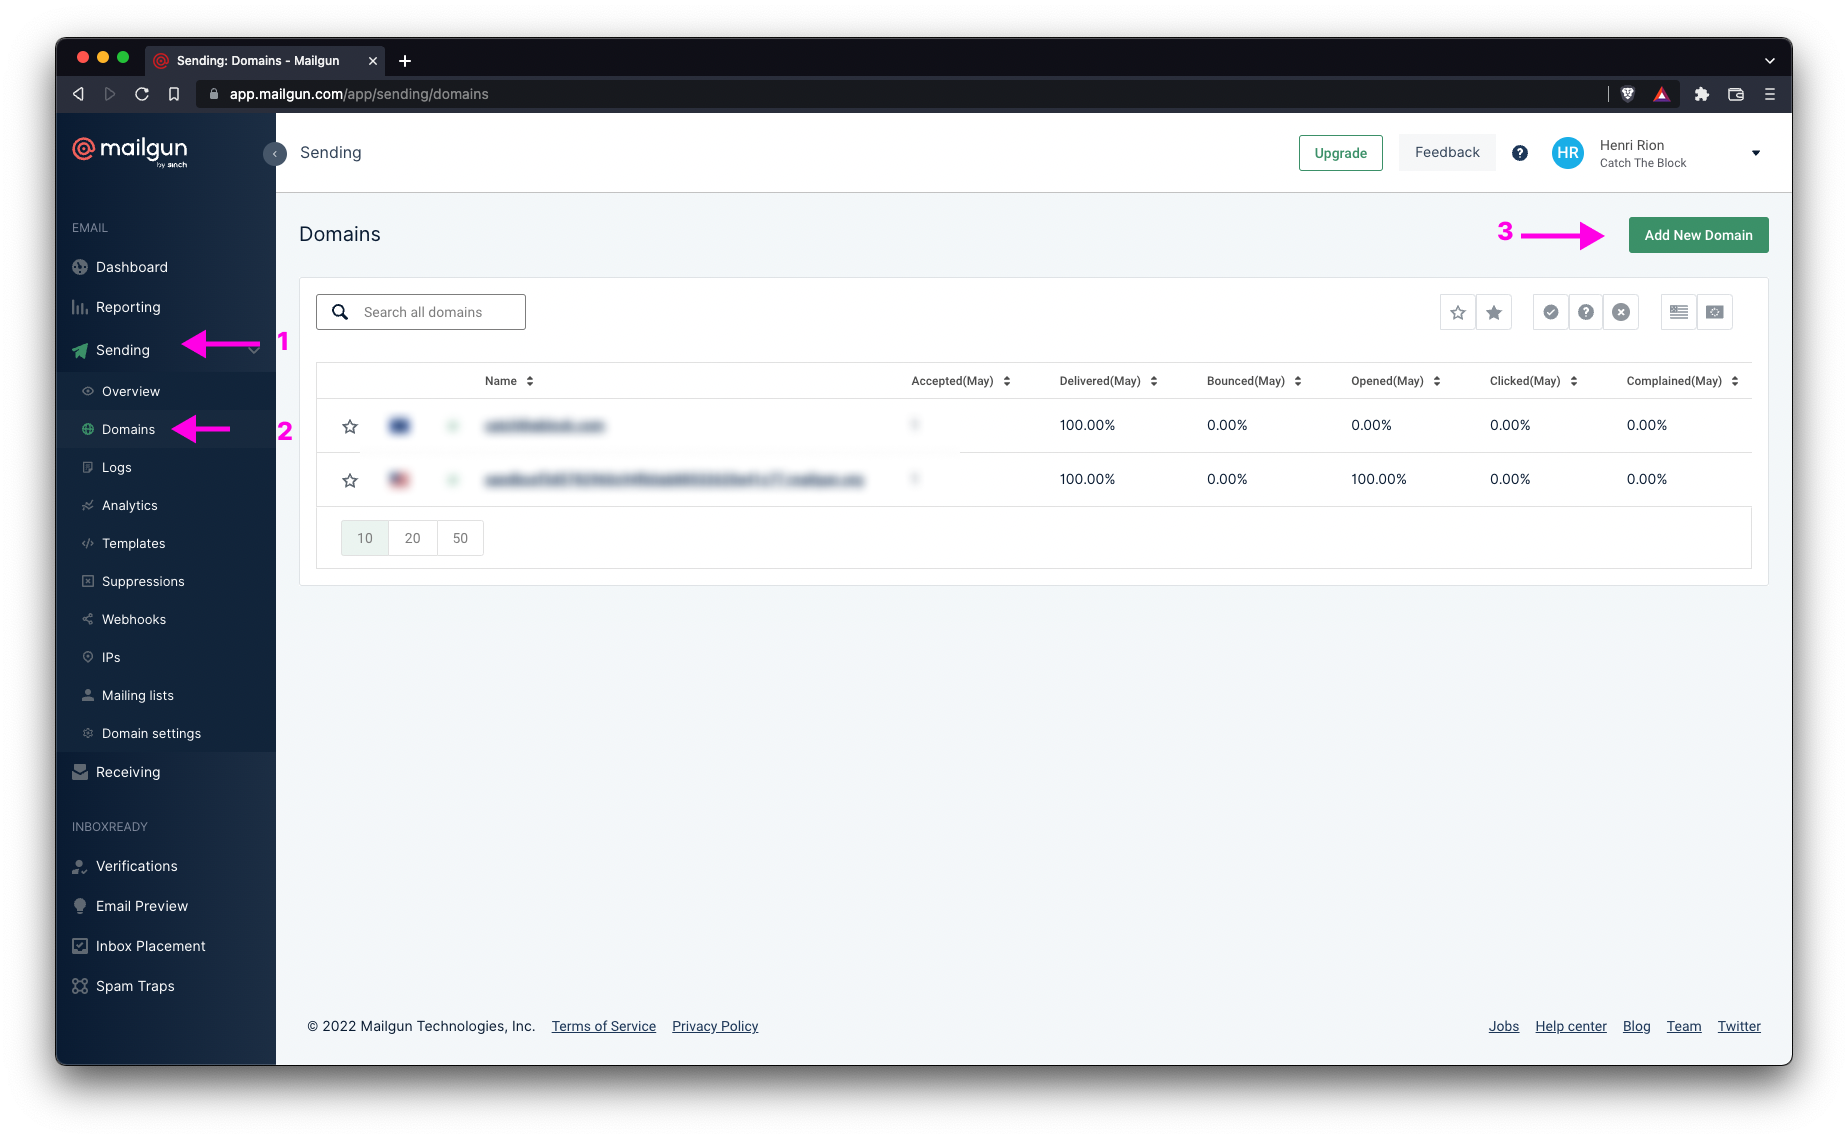
Now go to:
- Sending menu
- Domains submenu
- Add New Domain button
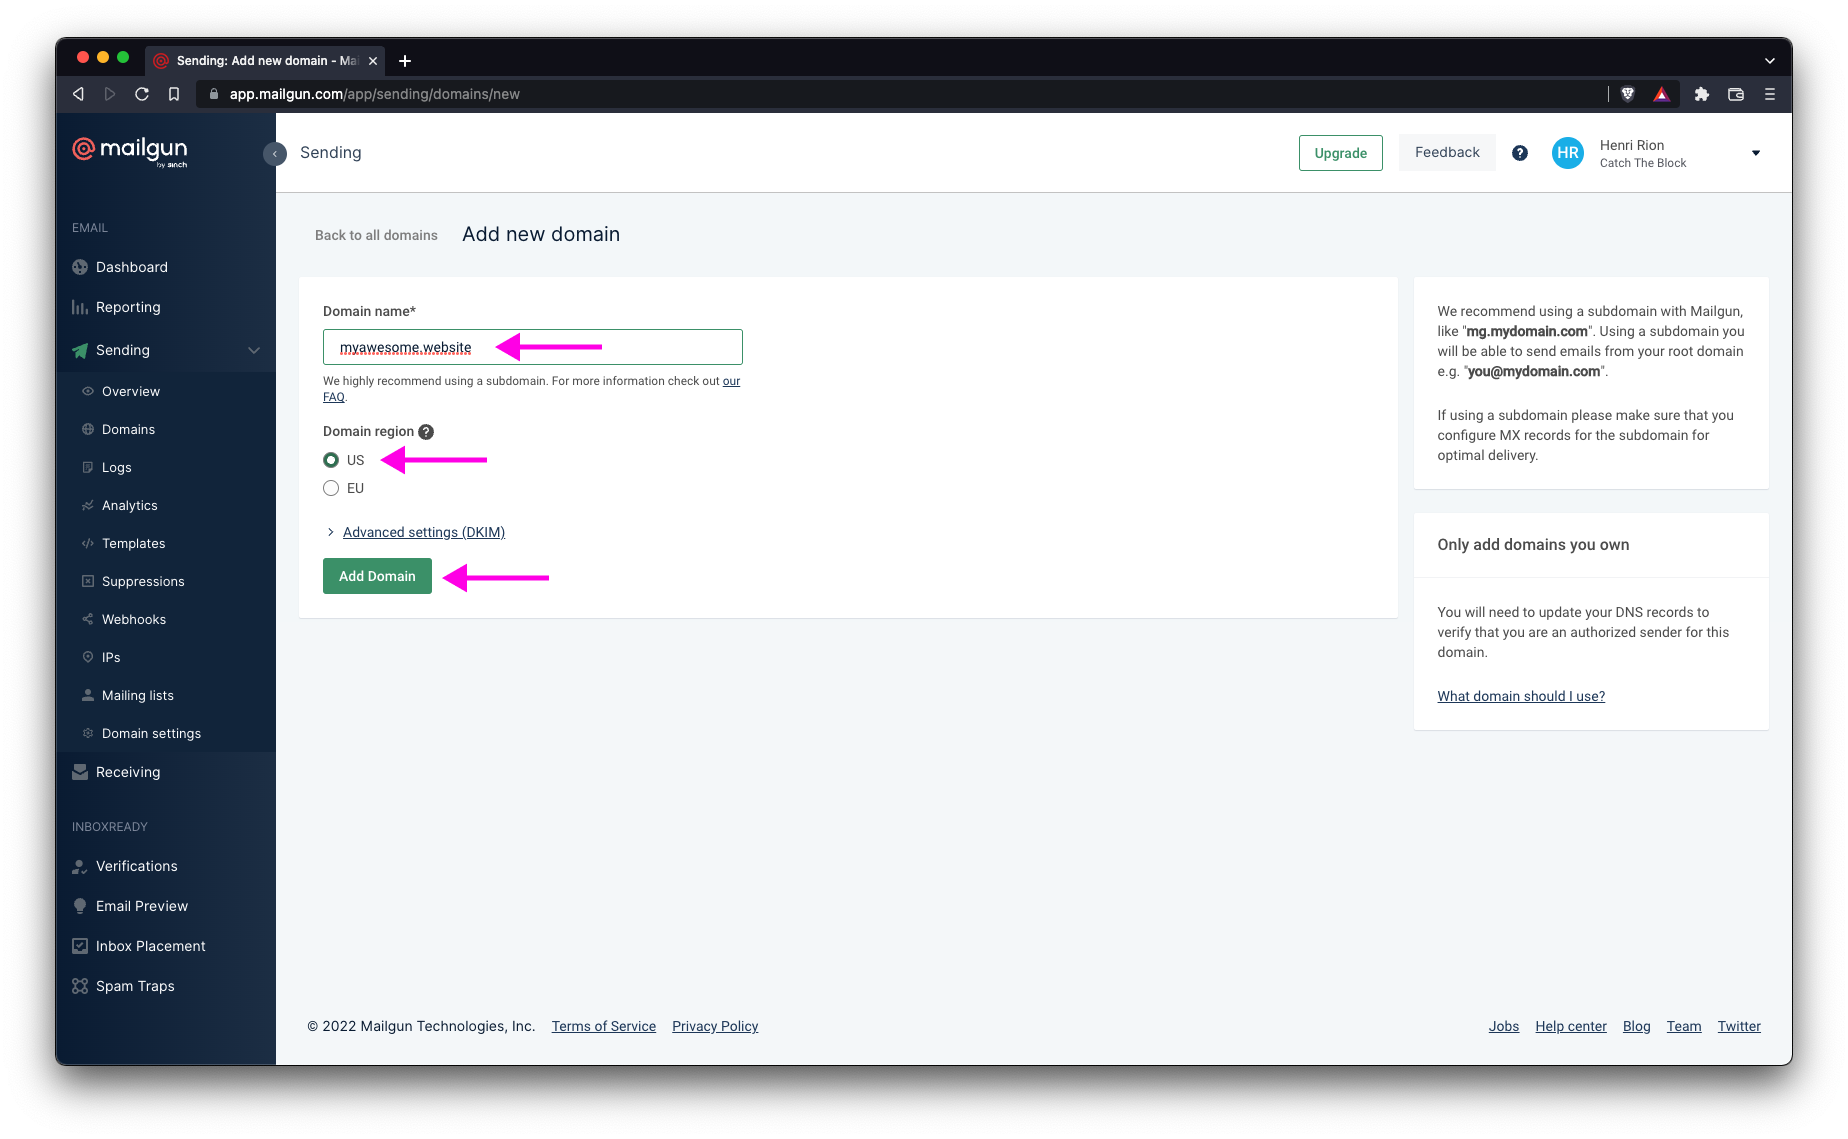
Then,
- Edit your Domain name as in the illustration I'm using myawesome.website
- Select the appropriate domain region
- Add Domain
The next page will show you the DNS records to add to your host.
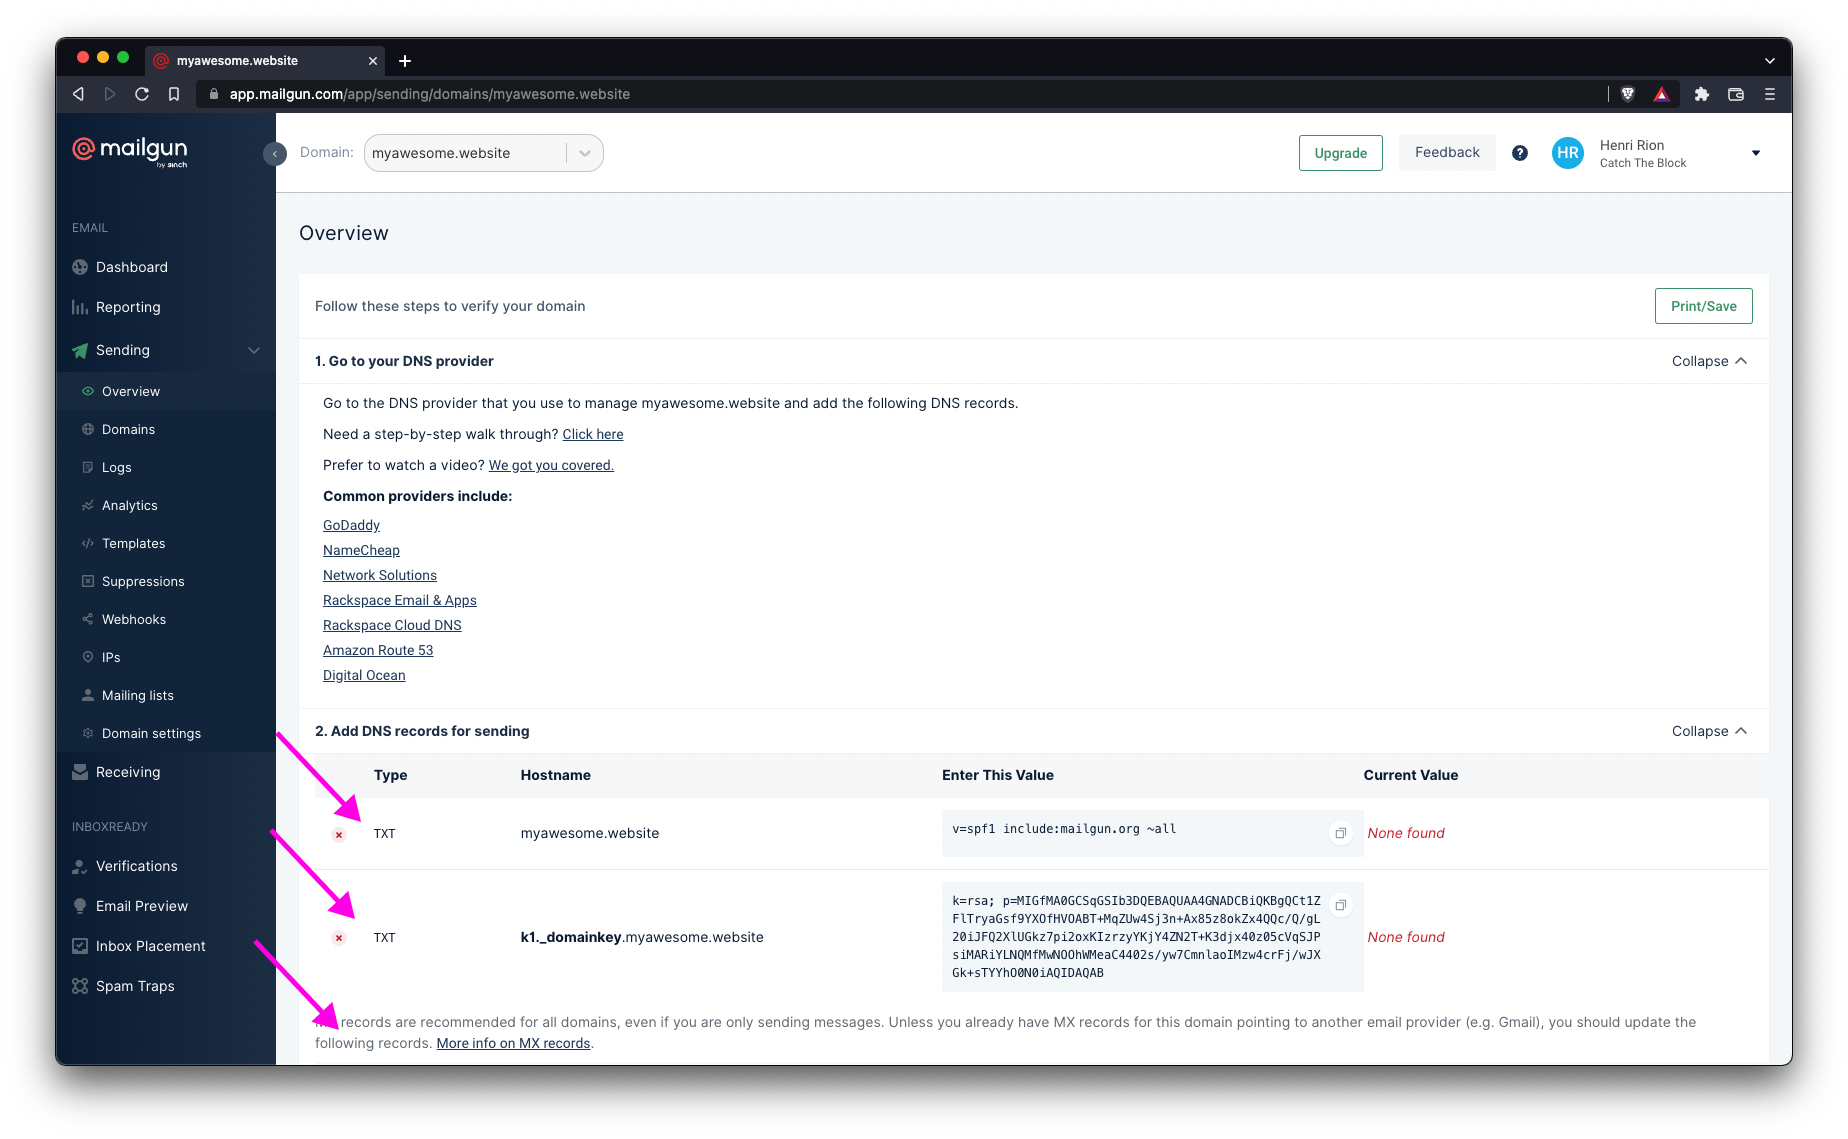
Depending on your Host solution, you could have to wait up to 24 hours to ensure 100% propagation of the new & updated DNS records.
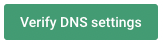
To check if it's properly deployed, you can use the Verify DNS settings in the Mailgun dashboard.
Once these are good, you will be redirected to method (API vs SMTP). (don't have printscreen for that part). In our case, we will chose the SMTP methodology.
Mailgun will generate credentials we will need to add to our Ghost docker-compose.
Docker-compose Update
When using Docker image, Ghost is not using a config file (config.production.json), but mails settings must be referenced using ENV variables.
(Source: https://ghost.org/docs/config/#running-ghost-with-config-env-variables).
Here is my updated docker-compose.yml file:
version: '3'
services:
  ghost:
    image: ghost:4-alpine
    ports:
      - ****:2368
    environment:
      url: https://myawesome.website
      mail__transport: SMTP
      mail__options__service: Mailgun
      mail__options__host: smtp.eu.mailgun.org
      mail__options__port: 587
      mail__options__auth__user: [email protected]
      mail__options__auth__pass: ************
    volumes:
      - ./data:/var/lib/ghost/content
    restart: unless-stopped
    [...]
Save and you should be good.
Now let's restart our docker-compose.yml:
docker-compose upAnd try create a new users.
You should now receive the subscription confirmation email.
Well done, you have now your emails working :-).