💾 How to add an external USB drive to Proxmox?

Introduction
In this short tutorial, we will see how to add an external USB drive to Proxmox Virtual Environment 7.3-3 .
We will assume the Proxmox environment is installed and well configured.
Here are the steps we will go through:
- 🔌 Plug the USB disk in the machine
- 🗻 Create a mount point
- 🧽 Format the USB disk
- 🛠️ Configure fstab
- ✨ Reboot
You will see how easy it is, let's go!
🔌 Step 1 - Plug the USB disk in the machine
I think we can skip this one :-).
🗻 Step 2 - Create a mount point
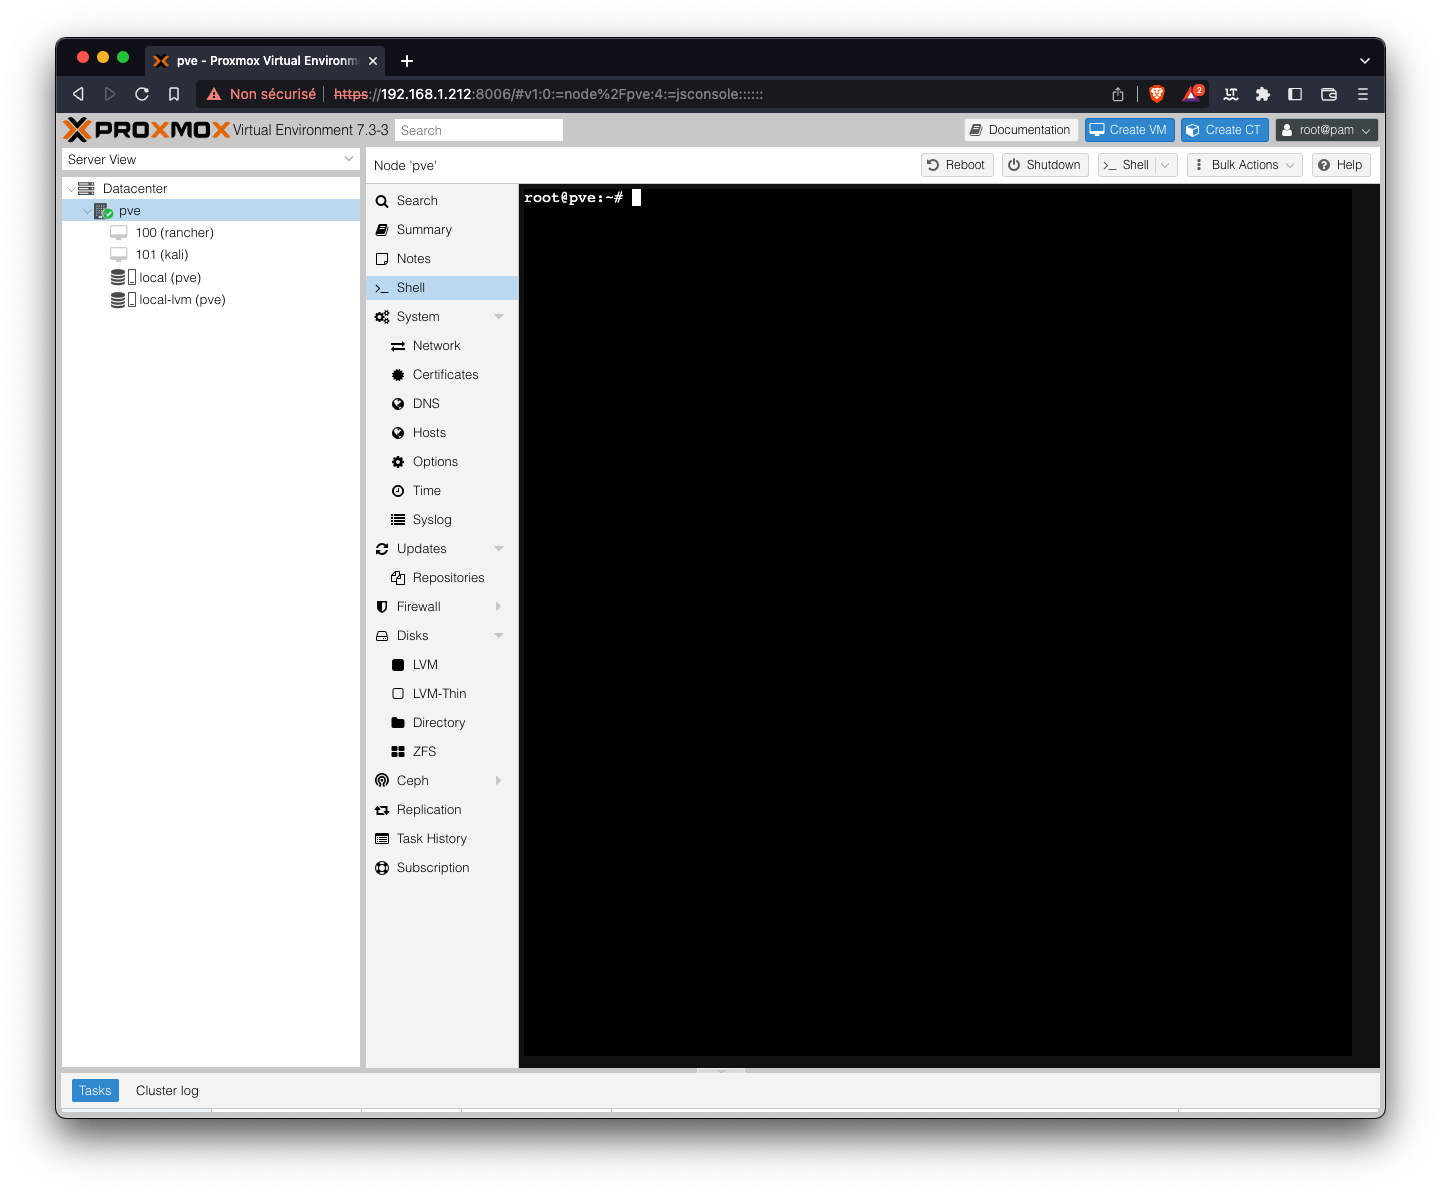
Now that our USB disk has been plugged, we need to create a mount point in our Proxmox VE, using the Shell.
Let's create the following directory in the /media directory:
cd /media
mkdir -p henri/EXT_DISK_2T
In my case, I'm using a 2To USB disk, but you are free to use the one you want.
- "mkdir -p" is used to create multiple subdirectories using "mkdir". It makes sure that "mkdir" adds any missing parent directories in the process.
- Replace the name of the directory as you want, of course 😃.
🧽 Step 3 - Format the USB disk
Now that we created a mounting point, we need to format our disk properly. In this case, we will use the "exfat" type. You are free to use the type you want.
Before formatting, make sure you identified the right disk (!). To check this, let's run the command:
fdisk -lYou should see something similar to:
root@pve:/media/henri# fdisk -l
Disk /dev/sda: 465.76 GiB, 500107862016 bytes, 976773168 sectors
Disk model: Samsung SSD 870
Units: sectors of 1 * 512 = 512 bytes
Sector size (logical/physical): 512 bytes / 512 bytes
I/O size (minimum/optimal): 512 bytes / 512 bytes
Disklabel type: gpt
Disk identifier: 598755F6-ED7D-429A-9E22-7585CD559E5F

Device       Start       End   Sectors   Size Type
/dev/sda1       34      2047      2014  1007K BIOS boot
/dev/sda2     2048   1050623   1048576   512M EFI System
/dev/sda3  1050624 976773134 975722511 465.3G Linux LVM


Disk /dev/mapper/pve-swap: 7.67 GiB, 8237613056 bytes, 16089088 sectors
Units: sectors of 1 * 512 = 512 bytes
Sector size (logical/physical): 512 bytes / 512 bytes
I/O size (minimum/optimal): 512 bytes / 512 bytes


Disk /dev/mapper/pve-root: 96 GiB, 103079215104 bytes, 201326592 sectors
Units: sectors of 1 * 512 = 512 bytes
Sector size (logical/physical): 512 bytes / 512 bytes
I/O size (minimum/optimal): 512 bytes / 512 bytes


Disk /dev/mapper/pve-vm--101--disk--0: 32 GiB, 34359738368 bytes, 67108864 sectors
Units: sectors of 1 * 512 = 512 bytes
Sector size (logical/physical): 512 bytes / 512 bytes
I/O size (minimum/optimal): 65536 bytes / 65536 bytes
Disklabel type: dos
Disk identifier: 0xdc483fa1

Device                                 Boot    Start      End  Sectors  Size Id Type
/dev/mapper/pve-vm--101--disk--0-part1 *        2048 65107967 65105920   31G 83 Linux
/dev/mapper/pve-vm--101--disk--0-part2      65110014 67106815  1996802  975M  5 Extended
/dev/mapper/pve-vm--101--disk--0-part5      65110016 67106815  1996800  975M 82 Linux swap / Solar

Partition 2 does not start on physical sector boundary.


Disk /dev/mapper/pve-vm--100--disk--0: 100 GiB, 107374182400 bytes, 209715200 sectors
Units: sectors of 1 * 512 = 512 bytes
Sector size (logical/physical): 512 bytes / 512 bytes
I/O size (minimum/optimal): 65536 bytes / 65536 bytes
Disklabel type: gpt
Disk identifier: 0ED5CE97-B11F-464C-A0E0-D44BA3FA3D5A

Device                                   Start       End   Sectors Size Type
/dev/mapper/pve-vm--100--disk--0-part1    2048      4095      2048   1M BIOS boot
/dev/mapper/pve-vm--100--disk--0-part2    4096   4198399   4194304   2G Linux filesystem
/dev/mapper/pve-vm--100--disk--0-part3 4198400 209713151 205514752  98G Linux filesystem


Disk /dev/sdb: 1.82 TiB, 2000398934016 bytes, 3907029168 sectors
Disk model: 2235
Units: sectors of 1 * 512 = 512 bytes
Sector size (logical/physical): 512 bytes / 4096 bytes
I/O size (minimum/optimal): 4096 bytes / 4096 bytes
As we can see here, we already have a disk sda with 3 partitions sda1, sda2, and sda3. Be careful not formatting this one, which is the root disk hosting Proxmox...
In our case, the plugged USB disk is called sdb (1.82 TiB).
To format sdb we will use the following command:
mkfs.exfat -n EXT_DISK_2T /dev/sdb- exfat is the format we chose in this case.
- -n: the LABEL we give to our disk EXT_DISK_2T
- /dev/sdb: the device
To check if the disk was properly formatted, we can run
fsck.exfat /dev/sdbWe can see that everything was properly processed:
exfatfsck 1.3.0
Checking file system on /dev/sdb.
File system version           1.0
Sector size                 512 bytes
Cluster size                128 KB
Volume size                1863 GB
Used space                   61 MB
Available space            1863 GB
Totally 0 directories and 0 files.
File system checking finished. No errors found.
🛠️ Step 4 - Configure fstab
Now that we successfully formatted our disk, everything is ready. We need to add the information about our new disk in the fstab.
Doing this will ensure the "automount" of the disk when our drive reboot.
Check information using the following command
blkidroot@pve:~# blkid
/dev/sda2: UUID="C6B3-A88F" BLOCK_SIZE="512" TYPE="vfat" PARTUUID="fad7d0a1-ed35-412c-a2de-d9d8184141c1"
/dev/sda3: UUID="8kaOpu-dyIf-v6u2-t5tr-n55e-MO6Q-2BmQli" TYPE="LVM2_member" PARTUUID="9c8fe9ca-923b-4c11-ac5d-4f0e148c45a0"
/dev/mapper/pve-swap: UUID="6fd0c30d-94c2-4c04-ad3e-1ffe7ebf73c5" TYPE="swap"
/dev/mapper/pve-root: UUID="add66af1-bf90-4923-85ba-f11e95d53214" BLOCK_SIZE="4096" TYPE="ext4"
/dev/sda1: PARTUUID="0149cd14-1960-4a00-a08d-20accc1fff33"
/dev/mapper/pve-vm--101--disk--0: PTUUID="dc483fa1" PTTYPE="dos"
/dev/mapper/pve-vm--100--disk--0: PTUUID="0ed5ce97-b11f-464c-a0e0-d44ba3fa3d5a" PTTYPE="gpt"
/dev/sdb: LABEL="EXT_DISK_2T" UUID="CA16-A25B" BLOCK_SIZE="512" TYPE="exfat" PTTYPE="dos"
The last line displays our newly added disk information. Let's update the fstab file using this information.
nano /etc/fstabYou should see something close to this
/dev/pve/root / ext4 errors=remount-ro 0 1
UUID=C6B3-A88F /boot/efi vfat defaults 0 1
/dev/pve/swap none swap sw 0 0
proc /proc proc defaults 0 0
Let's add our new disk by editing the fstab file as following
/dev/pve/root / ext4 errors=remount-ro 0 1
UUID=C6B3-A88F /boot/efi vfat defaults 0 1
/dev/pve/swap none swap sw 0 0
proc /proc proc defaults 0 0
LABEL=EXT_DISK_2T /media/henri/EXT_DISK_2To exfat errors=remount-ro,defaults,users,noatime,nodiratime,umask=0 0 2- LABEL=EXT_DISK_2T : our external disk label
- /media/henri/EXT_DISK_2To : the mount point
- exfat : filesystem type
- errors=remount-ro : mount the drive in 'read-only' if error occurs
- defaults : use default settings
- users : allows any user to mount/unmount the drive
- noatime : disables writing file access times to the drive every time you read a file
- nodiratime : disables the writing of file access times only for directories while other files still get access times written
- umask=0 : enables read/write access to all users
- 1 : used by the dump utility to decide when to make a backup
- 2 : sets the order for file system checks at boot time. The root device is set to 1, and other partitions are set to 2
To save and close the file, press CTRL+X and ENTER.
✨ Step 5 - Reboot
Now that everything has been properly set up, let's reboot the Proxmox host by typing
rebootIf everything was properly done, the machine should reboot properly.
To check if everything was properly done, we can run the following command
lsblkWe should see our disk displayed, as well as the mountpoint
NAME                         MAJ:MIN RM   SIZE RO TYPE MOUNTPOINT
sda                            8:0    0 465.8G  0 disk
├─sda1                         8:1    0  1007K  0 part
├─sda2                         8:2    0   512M  0 part /boot/efi
└─sda3                         8:3    0 465.3G  0 part
  ├─pve-swap                 253:0    0   7.7G  0 lvm  [SWAP]
  ├─pve-root                 253:1    0    96G  0 lvm  /
  ├─pve-data_tmeta           253:2    0   3.5G  0 lvm
  │ └─pve-data-tpool         253:4    0 338.7G  0 lvm
  │   ├─pve-data             253:5    0 338.7G  1 lvm
  │   ├─pve-vm--101--disk--0 253:6    0    32G  0 lvm
  │   └─pve-vm--100--disk--0 253:7    0   100G  0 lvm
  └─pve-data_tdata           253:3    0 338.7G  0 lvm
    └─pve-data-tpool         253:4    0 338.7G  0 lvm
      ├─pve-data             253:5    0 338.7G  1 lvm
      ├─pve-vm--101--disk--0 253:6    0    32G  0 lvm
      └─pve-vm--100--disk--0 253:7    0   100G  0 lvm
sdb                            8:16   0   1.8T  0 disk /media/henri/EXT_DISK_2To
Congrats! You successfully mounted an external USB disk to your Proxmox host!