🗄️ Store Sensor's Data to the Blockchain
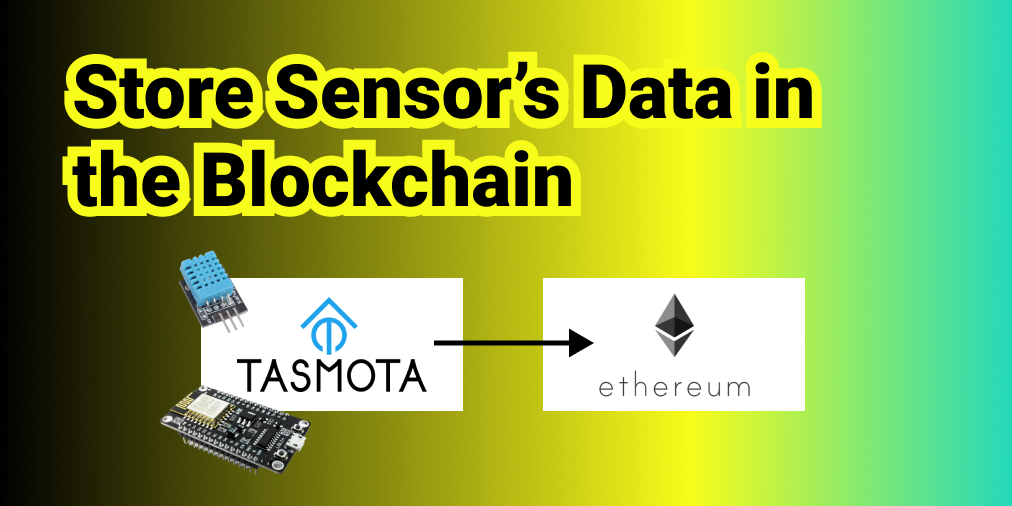
In this tutorial, we will learn how to store data from a sensor to the Ethereum Blockchain. At the end, we will be able to see the data stored in Ethereum, via Etherscan, as follow.
Tutorial' Steps
- Setup
- Fetch Data from Sensor
- Create & Migrate Smart Contract
Let's go!
Step 1 - ️⚙️ Setup
NodeJS
Install the latest version of NodeJS & NPM (package manager). In this tutorial, I'm using the v14.16.0. You can download the LTS version here.
Truffle
"Truffle is the most popular development framework for Ethereum with a mission to make your life a whole lot easier".
Truffle can be installed via npm, by typing the following command in your terminal. More info here.
npm install truffle -gGanache
"Quickly fire up a personal Ethereum blockchain which you can use to run tests, execute commands, and inspect state while controlling how the chain operates."
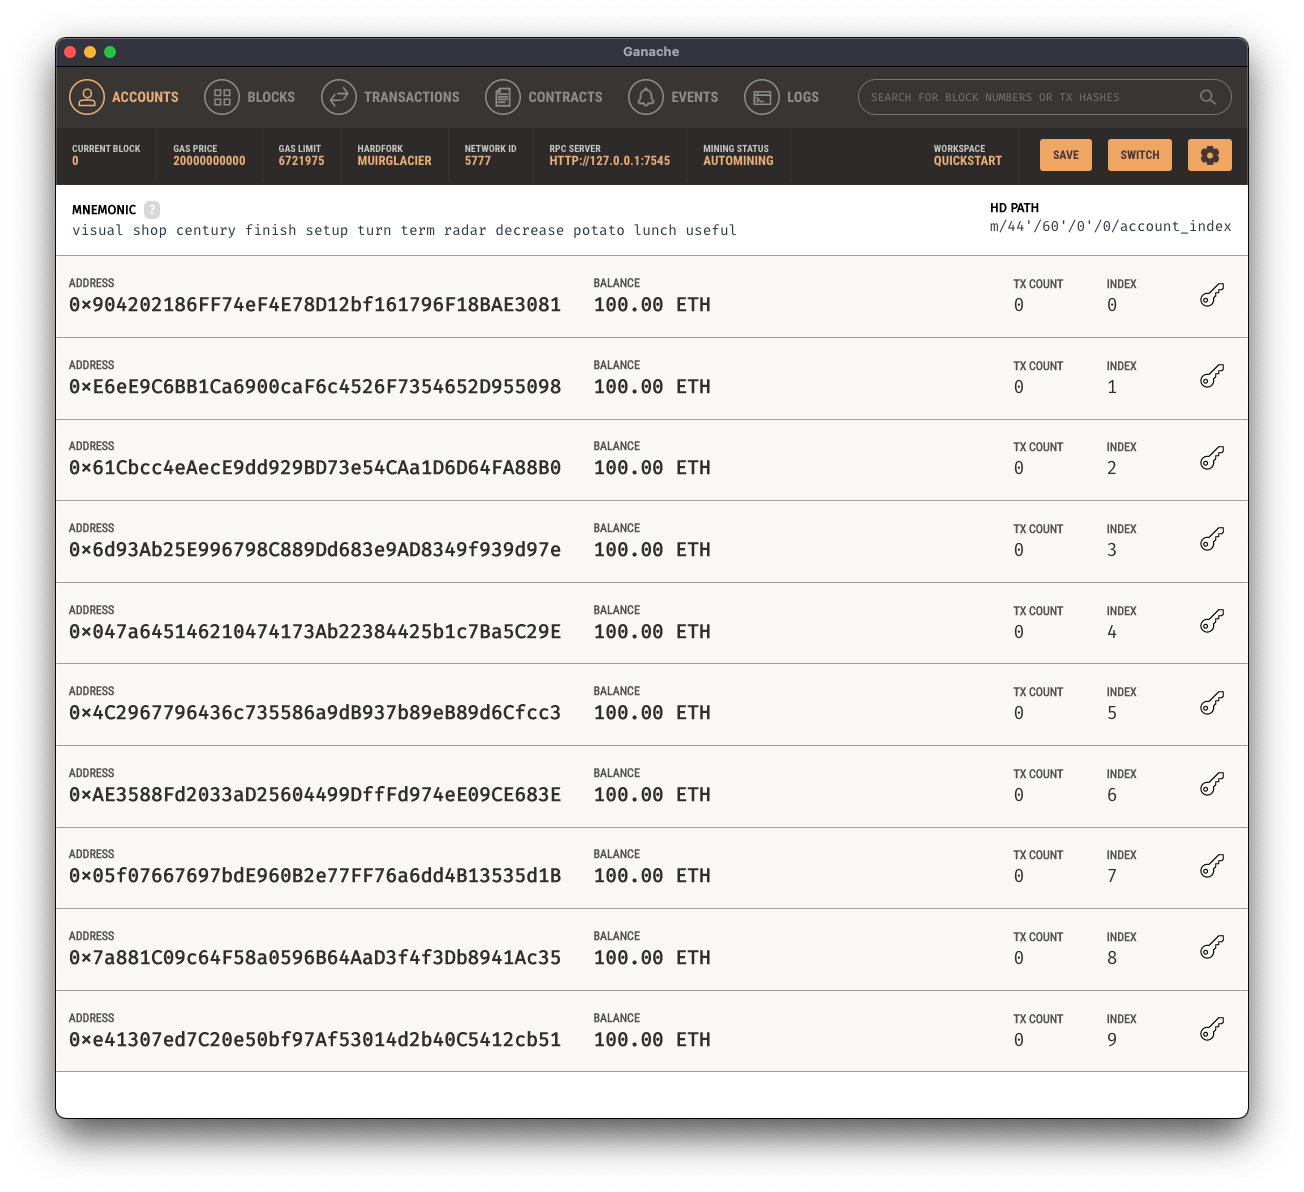
Ganache helps us launching a local blockchain in order to test, and develop. When you downloaded it, run it. You should have a window displaying 10 accounts with 100 $ETH each (hum, fake ETH sorry... 😉).
Web3
"web3.js is a collection of libraries that allow you to interact with a local or remote ethereum node using HTTP, IPC or WebSocket."
More info here.
npm install web3HDWalletProvider
This library will help us signing transaction for addresses derived from a 12 or 24 word mnemonic.
More info here.
npm install @truffle/hdwallet-providerAxios
"Promise based HTTP client for the browser and node.js".
More info here. In short, Axios is a NodeJs library allowing us to fetch the data from our sensor.
npm install axiosNow, we are all set, let's start 😀 .
Step 2 - 🪝 Fetch Data From Sensor
In this tutorial, we will use 2 components a DHT11 sensor, and an ESP8266 module. We will assume you already flashed the ESP8266, with Tasmota. If you don't know how to proceed, please have a look to one of my tutorial about that part.
DHT11
ESP8266
Data are accessible via an HTTP request, as explained in the Tasmota documentation (here, see 'with Web Requests' section).
In this case, we will use the following URL:
http://192.168.1.62/cm?cmnd=Status%2010- 192...: my sensor's ip address
- cm?...: the command getting the status data
If you follow that link in a web browser, you should see an object displaying your sensor's data:

Ok, now we need to fetch these data. That's why we previously installed the Axios library.
In our main directory, let's run the following command in our terminal, to initiate our project:
npm initA package.json file should have appeared in our directory.
Now, let's create our script file, index.js and open it. In your terminal, run the following command
touch index.jsIn this new file, type the code below:
const axios = require('axios');

const url = 'http://192.168.1.62/cm?cmnd=Status%2010';

const getData = async() => {
    const response = await axios.get(url);
    let result;
    if(response.status == 200){
        const data = {
            server: response.headers.server,
            timestamp: response.data.StatusSNS.Time,
            temperature: parseInt(response.data.StatusSNS.DHT11.Temperature),
            humidity: parseInt(response.data.StatusSNS.DHT11.Humidity),
            dewpoint: parseInt(response.data.StatusSNS.DHT11.DewPoint),
        };
        result = JSON.stringify(data);
    }
    console.log(result);
    return result;
}

getData();
Comments
- Import axios library in our file
- Store the URL including the Tasmota command in a variable called URL. This address should be different on your side. When you flash Tasmota on the ESP8266 module, it assign a random IP address to the compoment.
- Define a function getData to fetch the data with Axios.
- In summary: if we have an answer from the module, then we collect and allocate the different data in an object called data (server, timestamp, humidity, etc.). Finally, we convert this object into a string (easier for the Smart Contract in Solidity part), and return the data.
Now, we have our data. Let's move on the Blockchain part.
Step 3 - 🔥 Smart Contract
In the step 1, we installed the Truffle framework. This will help us structure our Smart Contract part.
In your terminal, run the following command
truffle initNow, you should have the following structure in your main directory:
├── contracts
│   └── Migrations.sol
├── index.js
├── migrations
│   └── 1_initial_migration.js
├── node_modules
   └── ...
│── package-lock.json
├── package.json
├── test
└── truffle-config.jsIn the contracts folder, create a new folder called MyContract.sol . This file will hold our Smart Contract in Solidity.
touch contracts/MyContract.solHere is our Smart Contract code. This tutorial is not about how to write Smart Contract in Solidity. So, we won't go in details of this contract.
pragma solidity >=0.4.16 <0.9.0;

contract MyContract {
    string data;

    event MyData (
        address indexed from,
        string data
    );

    function set(string memory x) public {
        data = x;
        emit MyData(msg.sender, data);
    }

    function get() public view returns(string memory) {
        return data;
    }
}In a few words:
- We define 2 functions: set and get.
- As you probably guessed already, the set function will 'store' the data we send to the Smart Contract, while the get function will return the value we stored.
- As you can see, we also add an event emitted in the set function.
Now, we need to compile and migrate that MyContract.sol .
In the Migrate directory, create a new file called 2_contract_deploy.js, and write the following code inside:
const MyContract = artifacts.require('MyContract');

module.exports = function(deployer){
    deployer.deploy(MyContract);
}In our terminal, run the following command
truffle migrate --resetYou should see the following answer in your Terminal
Compiling your contracts...
===========================
> Compiling ./contracts/MyContract.sol
> Artifacts written to /Users/henririon/Documents/Tutorials/From Sensor To Blockchain/build/contracts
> Compiled successfully using:
   - solc: 0.5.16+commit.9c3226ce.Emscripten.clang


Starting migrations...
======================
> Network name:    'ganache'
> Network id:      5777
> Block gas limit: 6721975 (0x6691b7)


1_initial_migration.js
======================

   Replacing 'Migrations'
   ----------------------
   > transaction hash:    0x984378f75dc8f252a4d51d1ad85ee72433aadb0a50be092130c0e2b516d315ed
   > Blocks: 0            Seconds: 0
   > contract address:    0xF07f86C3b0445DA2f0157C60B617F394b08ddc77
   > block number:        23
   > block timestamp:     1629645715
   > account:             0x95Cba0aAA08704fDFc52312C2F130dd6312F6766
   > balance:             99.94825178
   > gas used:            191943 (0x2edc7)
   > gas price:           20 gwei
   > value sent:          0 ETH
   > total cost:          0.00383886 ETH


   > Saving migration to chain.
   > Saving artifacts
   -------------------------------------
   > Total cost:          0.00383886 ETH


2_contract_deploy.js
====================

   Deploying 'MyContract'
   ----------------------
   > transaction hash:    0x8fb6a0a2f9187d5928b7e00290c04444e4400b5f5c0cf99182b0ed3708948596
   > Blocks: 0            Seconds: 0
   > contract address:    0x4Ad94cE4c77c7Efeb2B6742125E6300E41c09Db4
   > block number:        25
   > block timestamp:     1629645715
   > account:             0x95Cba0aAA08704fDFc52312C2F130dd6312F6766
   > balance:             99.94205754
   > gas used:            267374 (0x4146e)
   > gas price:           20 gwei
   > value sent:          0 ETH
   > total cost:          0.00534748 ETH


   > Saving migration to chain.
   > Saving artifacts
   -------------------------------------
   > Total cost:          0.00534748 ETH


Summary
=======
> Total deployments:   2
> Final cost:          0.00918634 ETH
This answer shows our deployed contract to our local blockchain. If we had deployed that contract in the Mainnet, it would have cost some Gas for real. Here, these are fake Ether.
In your Ganache window, you should see the first account with a balance close to 99 ETH since we 'pay' a GasPrice to deploy.

So far, we collected our data, and we now deployed our Smart Contract in our local Blockchain.
Let's return now in our index.js file.
Step 4 - 🤙🏻 Interact with our Smart Contract
In our index.js , we will write the script's part allowing us to interact with our Smart Contract. In other words, we will send some data to the contract, and then we will check the data.
Here is the code:
const HDWalletProvider = require('@truffle/hdwallet-provider');
const axios = require('axios');
const Web3 = require('web3');
const MyContract = require('./build/contracts/MyContract.json');

const ganache = 'http://127.0.0.1:7545';

const address = '0x904202186FF74eF4E78D12bf161796F18BAE3081';
const privateKey = '633962326604757f2676241bf34b55eababe2c6314a7f456fd911f3fb1abd94e';

const url = 'http://192.168.1.62/cm?cmnd=Status%2010';

const getData = async() => {
    const response = await axios.get(url);
    let result;
    if(response.status == 200){
        const data = {
            server: response.headers.server,
            timestamp: response.data.StatusSNS.Time,
            temperature: parseInt(response.data.StatusSNS.DHT11.Temperature),
            humidity: parseInt(response.data.StatusSNS.DHT11.Humidity),
            dewpoint: parseInt(response.data.StatusSNS.DHT11.DewPoint),
        };
        result = JSON.stringify(data);
    }
    console.log(result);
    return result;
}

const main = async() => {
    const provider = new HDWalletProvider(
        privateKey,
        ganache
    );

    const web3 = new Web3(provider);

    const id = await web3.eth.net.getId();
    const deployedNetwork = MyContract.networks[id];

    let contract = new web3.eth.Contract(
        MyContract.abi,
        deployedNetwork.address
    );

    const accounts = await web3.eth.getAccounts();

    let result = await getData();
    console.log(result);

    try {
        const receipt = await contract.methods.set(result).send({
            from: address,
            gas: 3000000,
        });

        console.log(receipt);

        const x = await contract.methods.get().call({
            from: address,
            gas: 3000000,
        });
        console.log(x);


    } catch (error) {

        console.log(error)

    }
}

main();
Comments:
- We import the required libraries: @truffle/hdwallet-provider (library to sign transaction), web3 (library to interact with Smart Contracts), our MyContract (our Smart Contract).
- We store the Ganache host in a variable. You can see this address in your Ganache window. In my case, I have http://127.0.0.1:7545 .
- We store an Ethereum address to a const address (I toke the first address displayed in Ganache)
- We store the Private Key (available in Ganache by clicking the key on the right of the required account)
- We declare our custom provider using the HDWallerProvider library, including the privateKey constant, and the Ganache host address as parameters
- We instantiate Web3 using our custom provider,
- We instantiate our Contract using the web3 library.
- In a the try/catch section, we send a Transaction to the method 'set' including our data stored in the const result as parameter. To use the send method, we also need to include 2 parameters 'from' (the source address), and the gas limit. More info here.
- Then we call the get method in order to see the data we stored.
As a result, in the Terminal, you should see:
The receipt of the Send Transaction part
{
  transactionHash: '0x787708a586df25dc1e6c39305995db56be1d0c13fa14ac8cd4de3393b9984051',
  transactionIndex: 0,
  blockHash: '0x0f1e2333a29692deea4824f0a5ea6e7c4c6d83fc7a3ab5bcff19b8e700110b5c',
  blockNumber: 7,
  from: '0x904202186ff74ef4e78d12bf161796f18bae3081',
  to: '0xca9c9833e58275dd66b47dfc8a560700d9abd474',
  gasUsed: 45668,
  cumulativeGasUsed: 45668,
  contractAddress: null,
  status: true,
  logsBloom: '0x00000000000000000000000000000000000000000000000000000000000000000000000000000000000800000000000000000000000000000000000000000004000000000000000000002000000000000800000000000000000000100000000000000000000000000000000000000000000000000000000000000000000000000000000000000000000000000000000400000000000000000000000000000000000000000000000000000080000000000000000000000000000000000000000000000000000000000000000000000000000001000000000000000000000000000000000000000000000010000000000000000000000000000000000000000000',
  events: {
    MyData: {
      logIndex: 0,
      transactionIndex: 0,
      transactionHash: '0x787708a586df25dc1e6c39305995db56be1d0c13fa14ac8cd4de3393b9984051',
      blockHash: '0x0f1e2333a29692deea4824f0a5ea6e7c4c6d83fc7a3ab5bcff19b8e700110b5c',
      blockNumber: 7,
      address: '0xca9c9833e58275Dd66b47Dfc8A560700D9ABd474',
      type: 'mined',
      id: 'log_ddf3b684',
      returnValues: [Result],
      event: 'MyData',
      signature: '0xa8073d849fb4a3e09df83ab9787898c62652336cd0d79a6e402438f64af7aeac',
      raw: [Object]
    }
  }
}and from the get method, you should see our sensor's data:
{"server":"Tasmota/9.5.0 (ESP8266EX)","timestamp":"2021-08-22T16:51:23","temperature":24,"humidity":63,"dewpoint":17}Hurraaaa! It works 🎉🥳 ! Congrats, you successfully collect the data from the sensor, and store it in our local blockchain!
Hold on, this is not the end! Now, let's store this data on the Public Testnet Ropsten from Ethereum.
Step 5 - Store the Data to Ropsten (Public Testnet Ethereum)
What is Ropsten?
Here is a very good definition:
Ropsten Ethereum, also known as “Ethereum Testnet”, are as the name implies, a testing network that runs the same protocol as Ethereum does and is used to testing purposes before deploying on the main network (Mainnet).
Ethereum has several networks. Your Valuable ETHs are in the Main Net. The rETHs are on the Ropsten one.
Ropsten ETHs are used for testing purposes. When developers are building dApps, or experimenting on the network, to avoid losing money paying real ETH for transaction fees and smart contract deployments, it’s better to use the Ropsten Network.
More info in this very good article.
Step 5.1. - Infura
To deploy our Smart Contract to Ropsten, we need an access to an Ethereum node. Either, you are lucky, and you have your own node, or, like me, you don't, and you need another solution 😃. This solution is called Infura.
The World’s Most Powerful Blockchain Development Suite
Our suite of high availability APIs and Developer Tools provide quick, reliable access to the Ethereum and IPFS networks so you can focus on building and scaling next generation software.
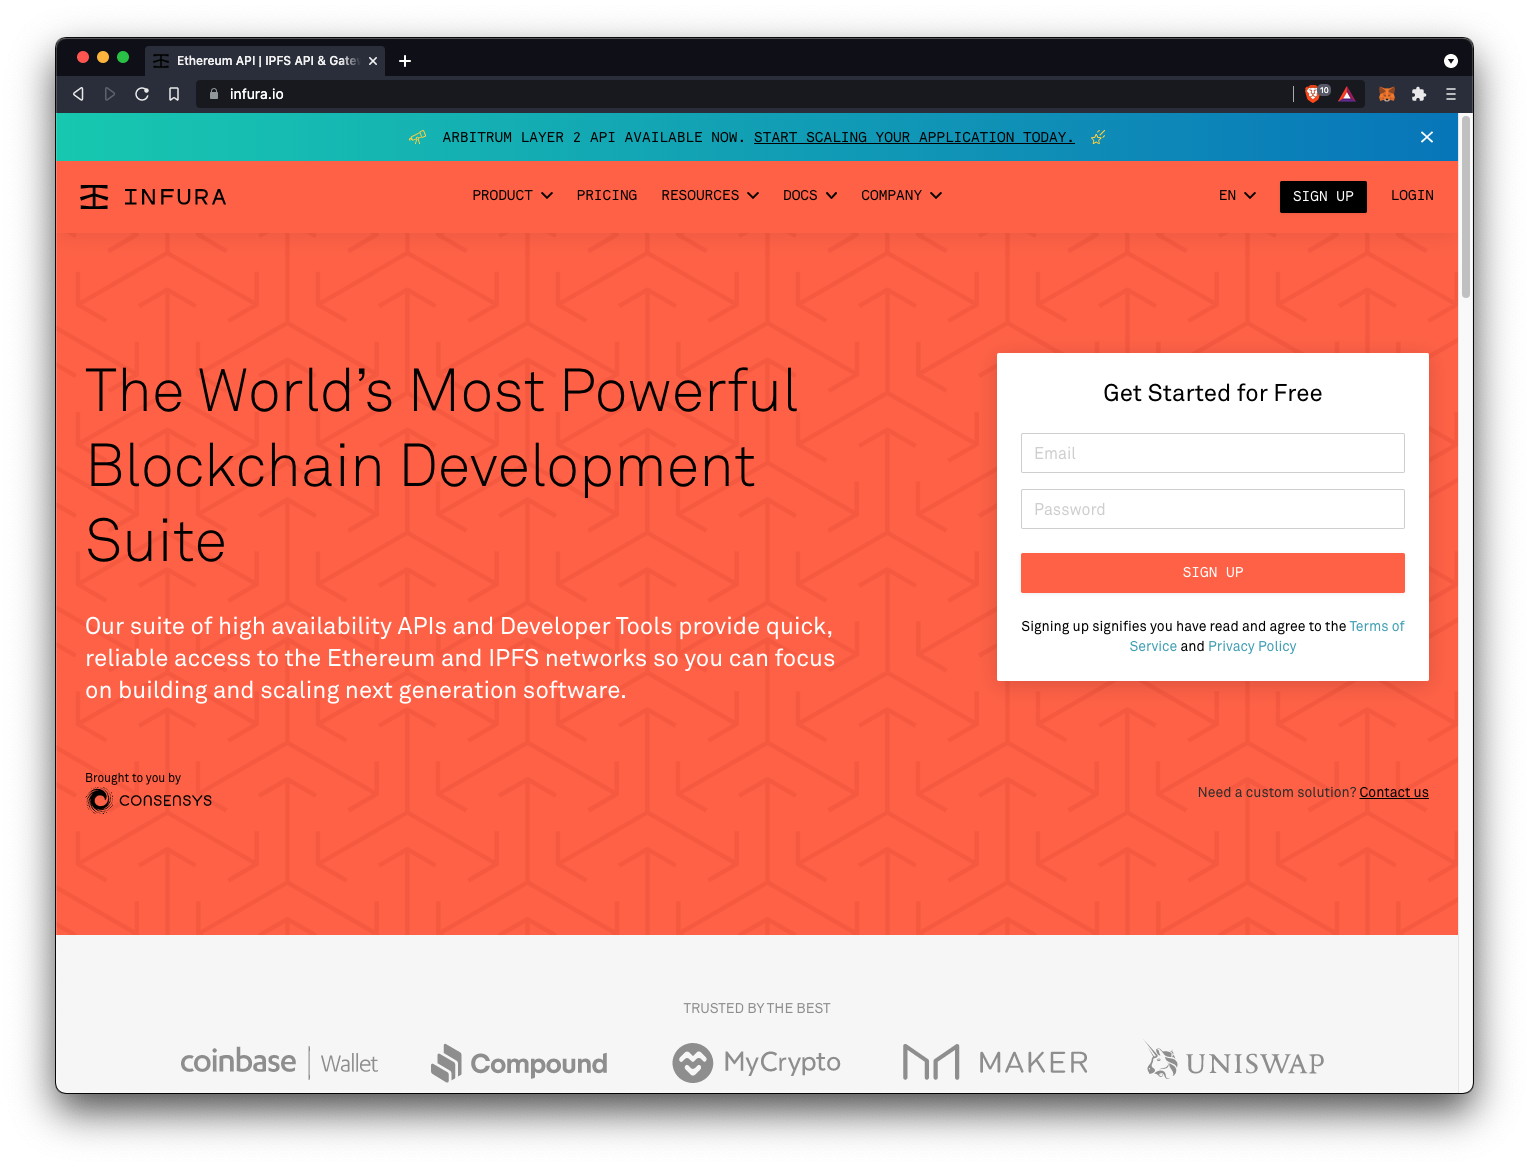
Infura allows us to interact with Ethereum networks (Mainnet & Testnets) by using an API. Hopefully this service is FREE.
Create your account, and let's move on.
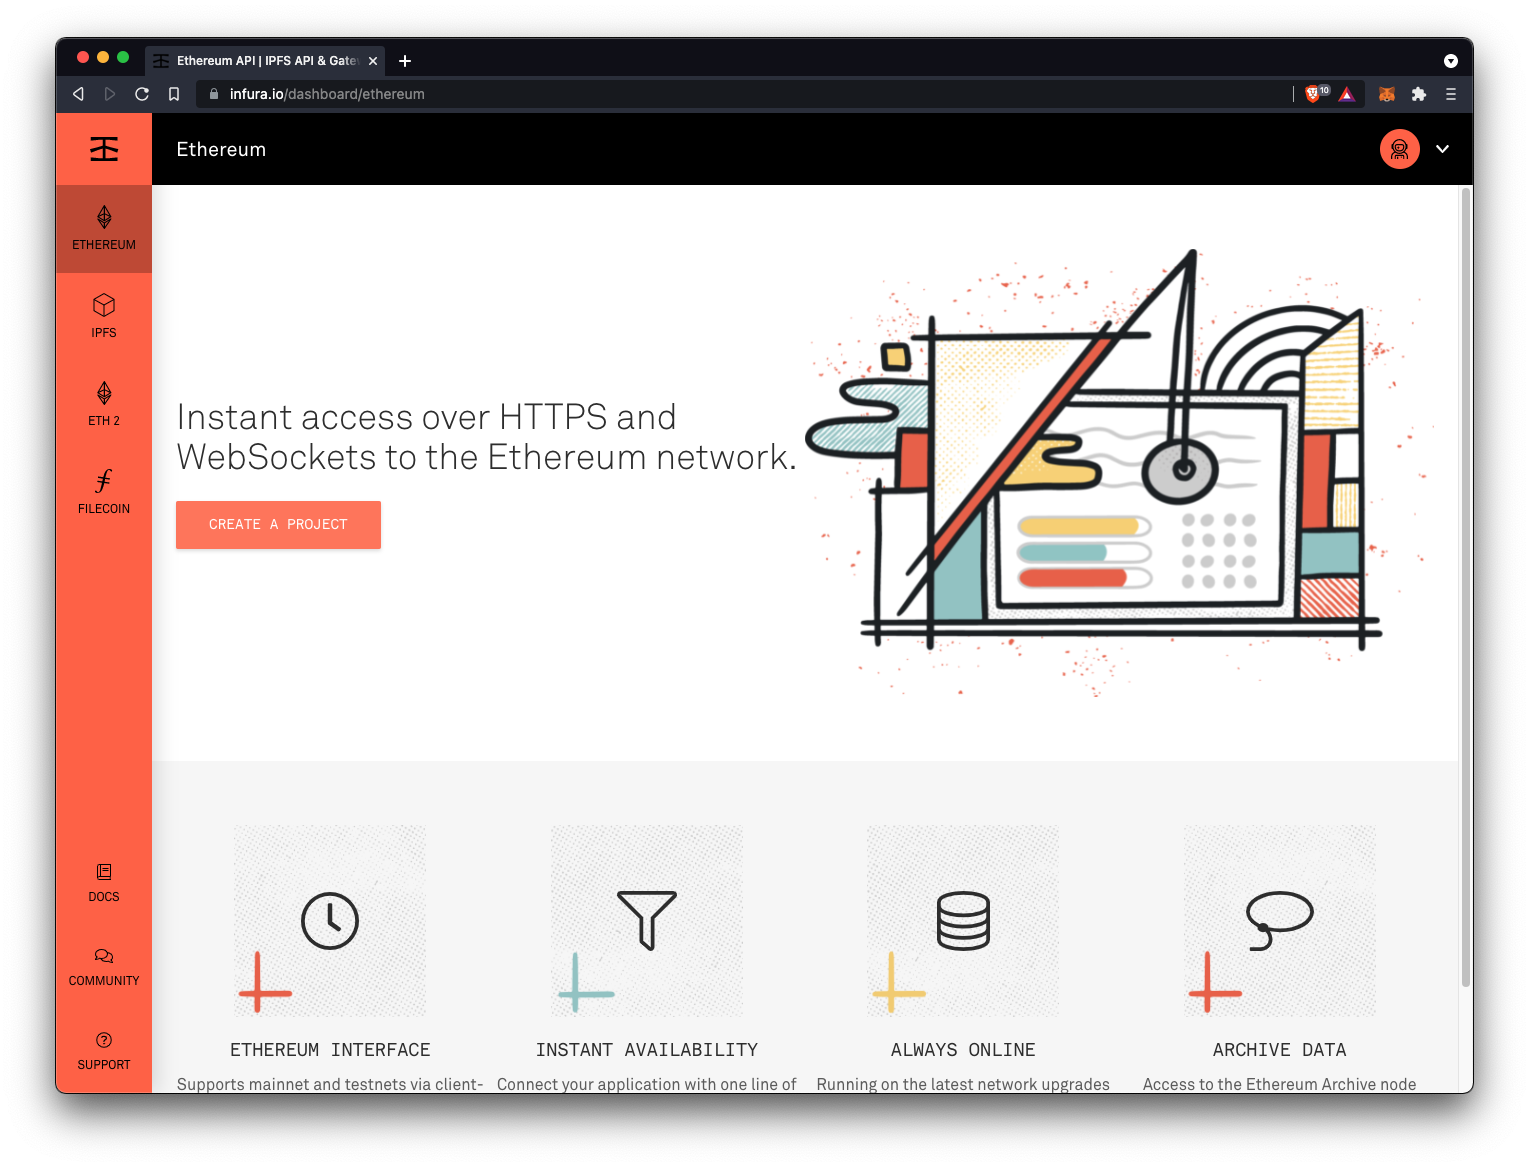
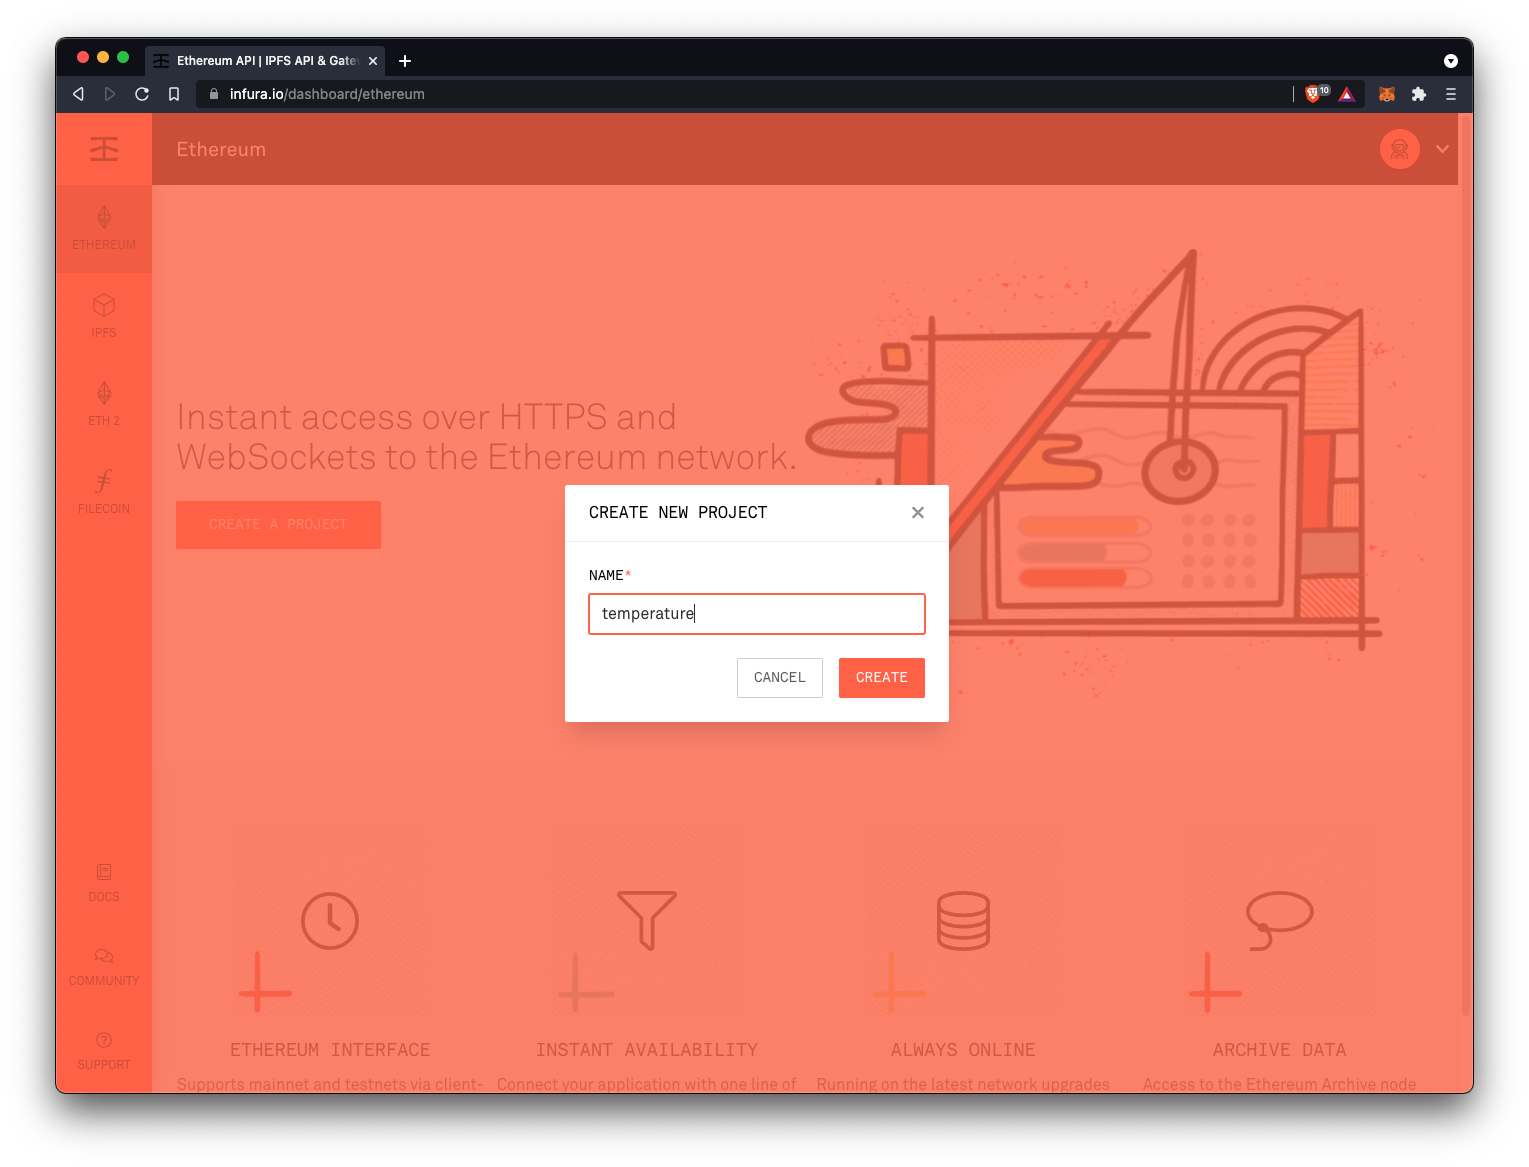
Once signed up, let's create a project.
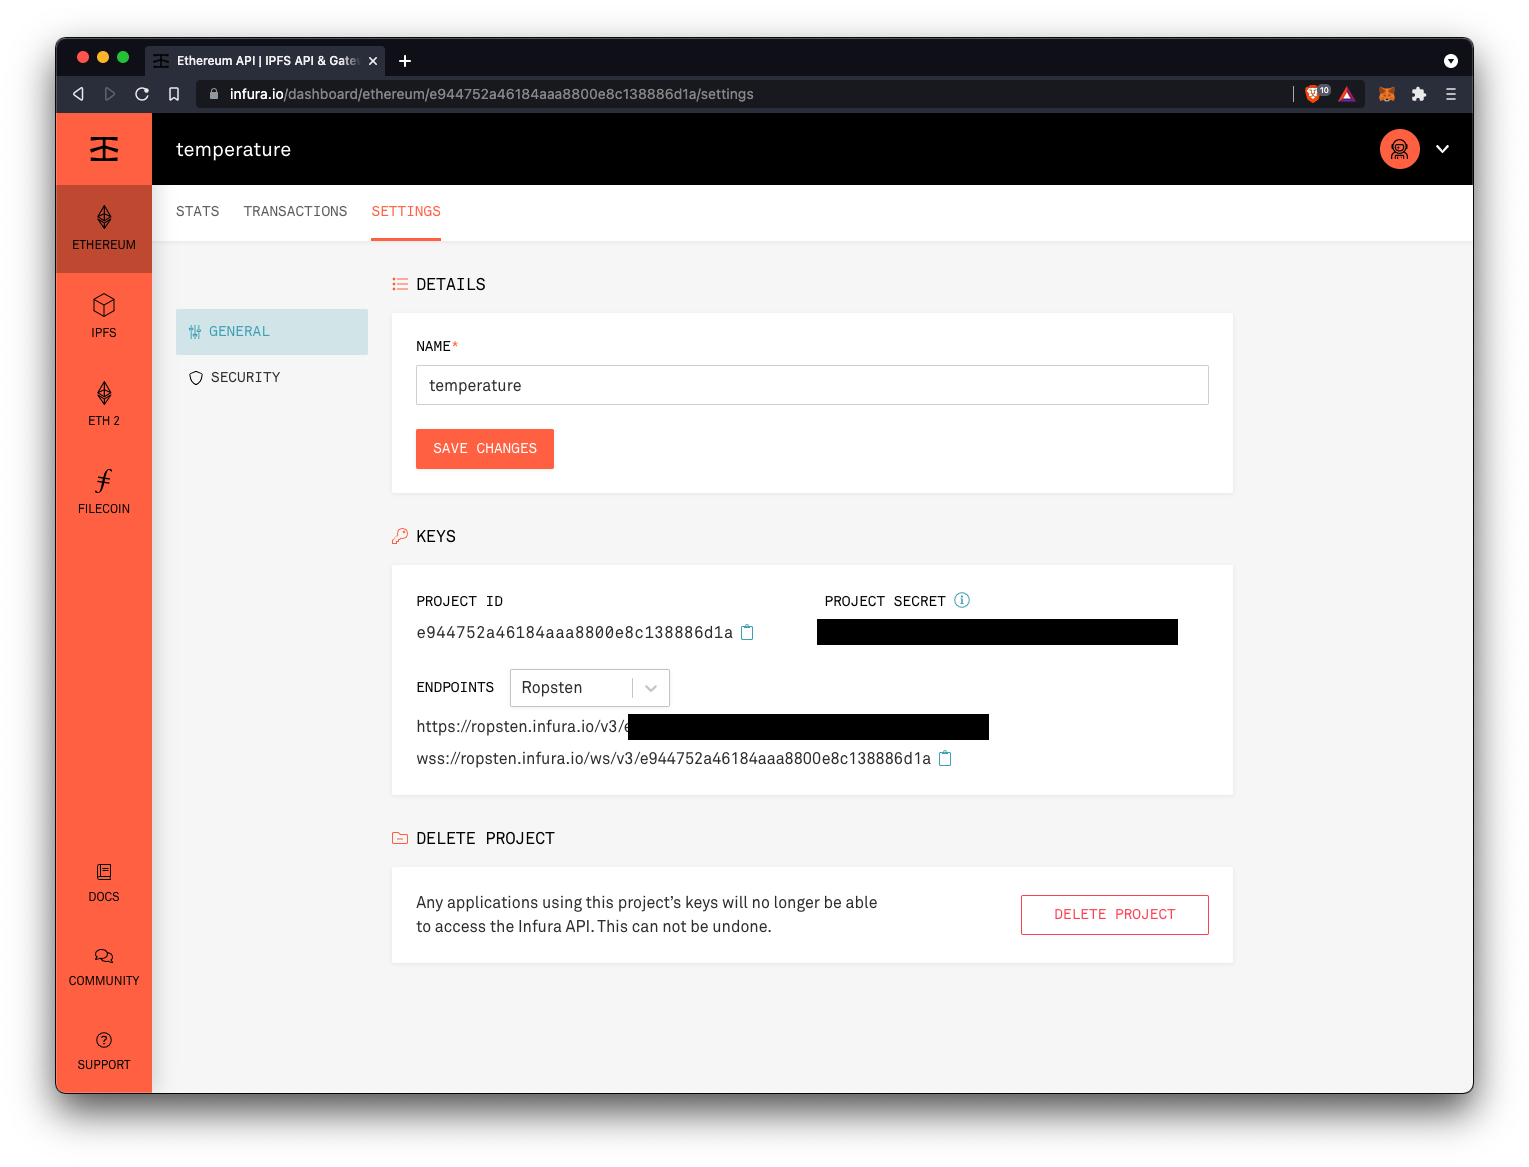
Once created, you can copy the Testnet Ropsten endpoint.
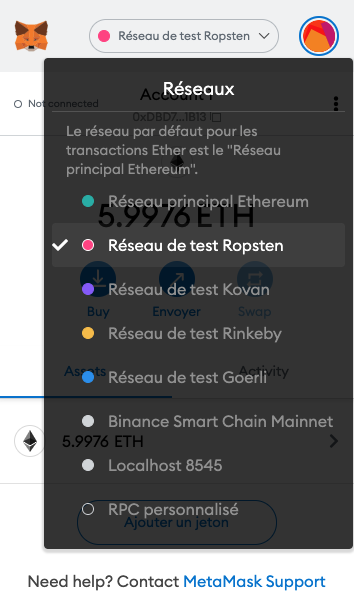
Step 5.2. - Setup Metamask
If it's not the case already, install the Metamask extension to your chrome, by clicking here. Follow the steps.

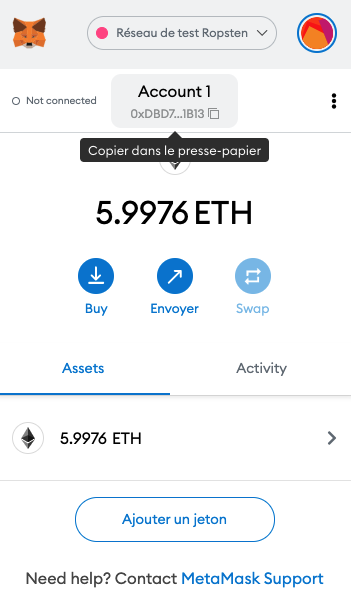
Once installed, and set up, click on the top right icon, create a new Account, and call it Test.
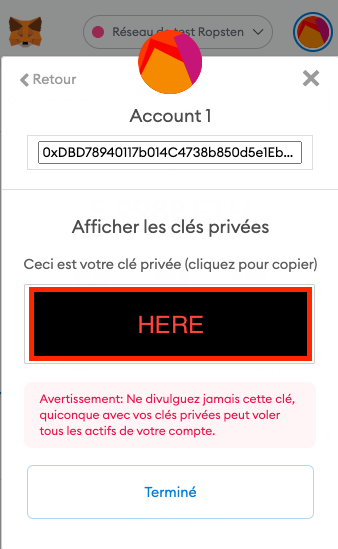
Copy the Account address, right under the Test title. Now, we need to provide 'fake' Ether to this account, in order to 'pay' our deployment within the Testnet Network.
🚰 Go to https://faucet.ropsten.be/, paste your account address, and click on 'Send me test Ether'. After a couple of seconds/minutes, you will see the test Ether arrives on your Test account in Metamask.
⚠️ Warning⚠️ --> Avoid clicking several times on the Send button, to avoid being blacklisted!
Once you received your 5 ETH, we can move on.
Now let's edit our index.js script to deploy on the Testnet.
Here is the code, comments are following:
const HDWalletProvider = require('@truffle/hdwallet-provider');
const axios = require('axios');
const Web3 = require('web3');
const MyContract = require('./build/contracts/MyContract.json');

const ropsten = 'https://ropsten.infura.io/v3/e944752a46184aaa8800e8c138886d1a';

const address = 'Your Metamask Account Address';
const privateKey = 'Your Metamask Private Key Account';

const url = 'http://192.168.1.62/cm?cmnd=Status%2010';

const getData = async() => {
    const response = await axios.get(url);
    let result;
    if(response.status == 200){
        const data = {
            server: response.headers.server,
            timestamp: response.data.StatusSNS.Time,
            temperature: parseInt(response.data.StatusSNS.DHT11.Temperature),
            humidity: parseInt(response.data.StatusSNS.DHT11.Humidity),
            dewpoint: parseInt(response.data.StatusSNS.DHT11.DewPoint),
        };
        result = JSON.stringify(data);
    }
    console.log(result);
    return result;
}

const main = async() => {

    const provider = new HDWalletProvider(
        privateKey,
        ropsten
    );

    const web3 = new Web3(provider);

    let contract = new web3.eth.Contract(
        MyContract.abi,
    );

    contract = await contract
        .deploy({data: MyContract.bytecode})
        .send({from: address});

    let result = await getData();
    console.log(result);

    try {
        const receipt = await contract.methods.set(result).send({
            from: address,
            gas: 3000000,
        });

        console.log(receipt);

        const x = await contract.methods.get().call({
            from: address,
            gas: 3000000,
        });
        console.log(x);


    } catch (error) {

        console.log(error)

    }
}

main();
Comments
- We store the API address provided by Infura in the Ropsten constant
- We store the Metamask Account address in the Address constant
- We store the Metamask Account Private Key
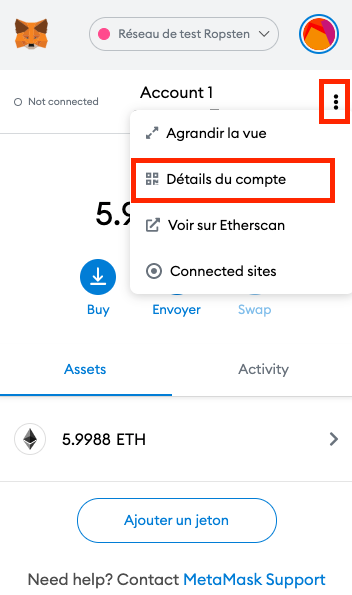
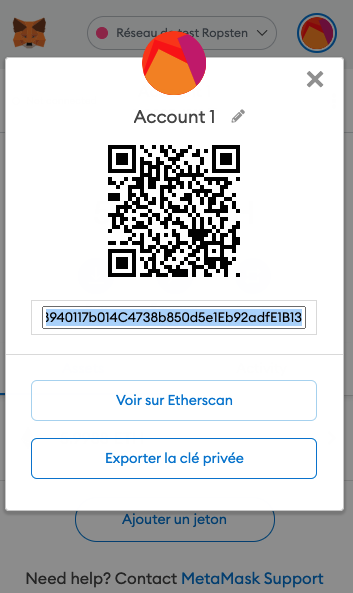
Where to find the Metamask Account Private Key?
- We define our custom provider by using the Ropsten API address.
- After, we instantiate again web3, and our Smart Contract, but we don't use the deployedNetwork as performed previously, which is our local blockchain.
Now run the following code in your terminal:
node index.jsIt will be a bit slower than before since it's on the public testnet now.
You should see the receipt, and the get data result.
{
  blockHash: '0xc078972c8c6a90b60d2ce677cae3f277380b0eb74d6bdbdabe78bc4131cc2586',
  blockNumber: 10888390,
  contractAddress: null,
  cumulativeGasUsed: 611127,
  effectiveGasPrice: '0x59682f0e',
  from: '0xdbd78940117b014c4738b850d5e1eb92adfe1b13',
  gasUsed: 138768,
  logsBloom: '0x00000000000000000000000000000000000000000000000000000000000000000000000000000000000000200000000000000000000000000000000000000000000000000000000000000000000000000000000000000000000000000000000000000000000000000000000000000000000000000000000000000000000000000000000000001000000000000000000000000000000000000000000000000000000000000000000000000080000000000001000000000000000000000000000000000000000000000000000000000080000001002000000000000000000000000000000000000000000010000000000000000020000000000000000000000000',
  status: true,
  to: '0x2472fe4510696302e31382229400822ec6b0fced',
  transactionHash: '0x21acdc35d63c9e078bd86fe75f92b4f8b1dad2f758de4d872f282e623328ba34',
  transactionIndex: 3,
  type: '0x0',
  events: {
    MyData: {
      address: '0x2472FE4510696302e31382229400822ec6b0FceD',
      blockHash: '0xc078972c8c6a90b60d2ce677cae3f277380b0eb74d6bdbdabe78bc4131cc2586',
      blockNumber: 10888390,
      logIndex: 9,
      removed: false,
      transactionHash: '0x21acdc35d63c9e078bd86fe75f92b4f8b1dad2f758de4d872f282e623328ba34',
      transactionIndex: 3,
      id: 'log_a3f66bda',
      returnValues: [Result],
      event: 'MyData',
      signature: '0xa8073d849fb4a3e09df83ab9787898c62652336cd0d79a6e402438f64af7aeac',
      raw: [Object]
    }
  }
}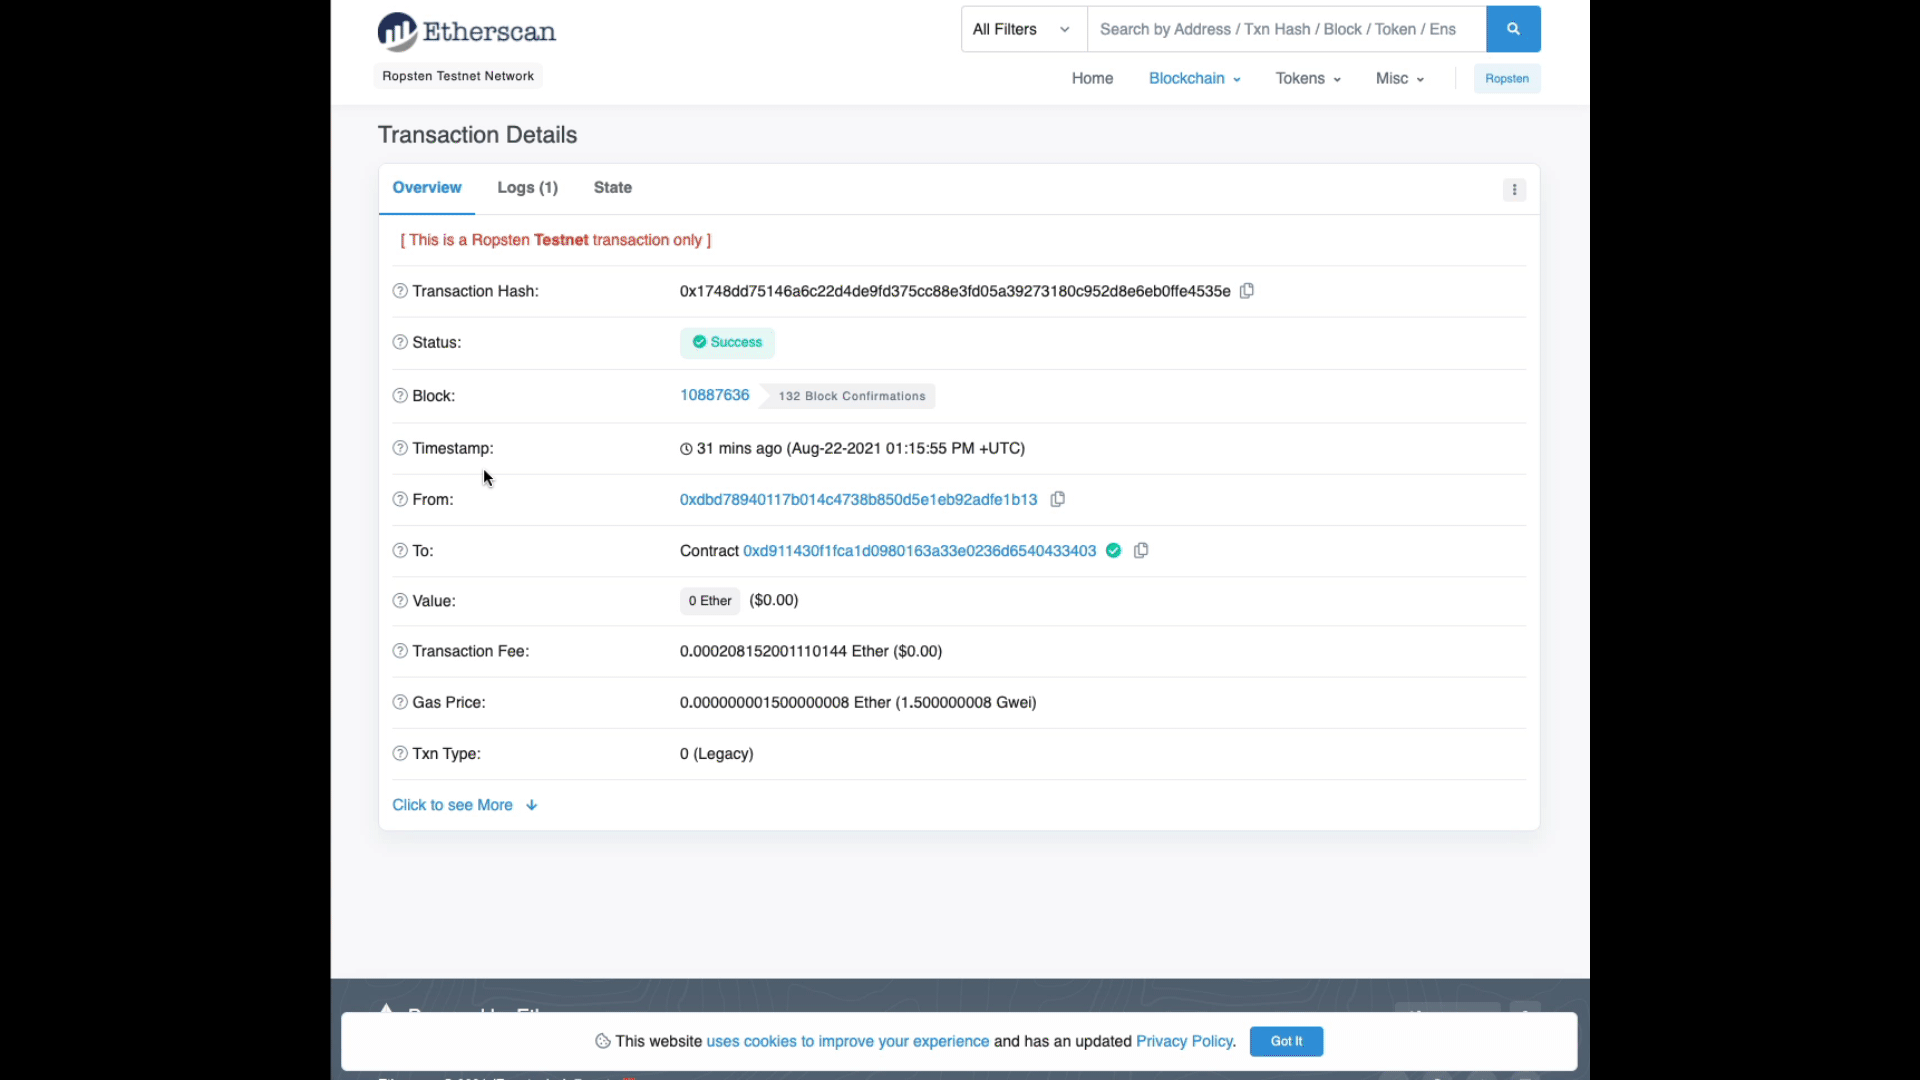
{"server":"Tasmota/9.5.0 (ESP8266EX)","timestamp":"2021-08-22T17:21:28","temperature":24,"humidity":63,"dewpoint":17}Now copy the 'to' hash code (0x2472fe4510696302e31382229400822ec6b0fced), which is the contract address on the blockchain, and paste it to https://ropsten.etherscan.io/ (we have to use ropsten etherscan since we are on the Test net).
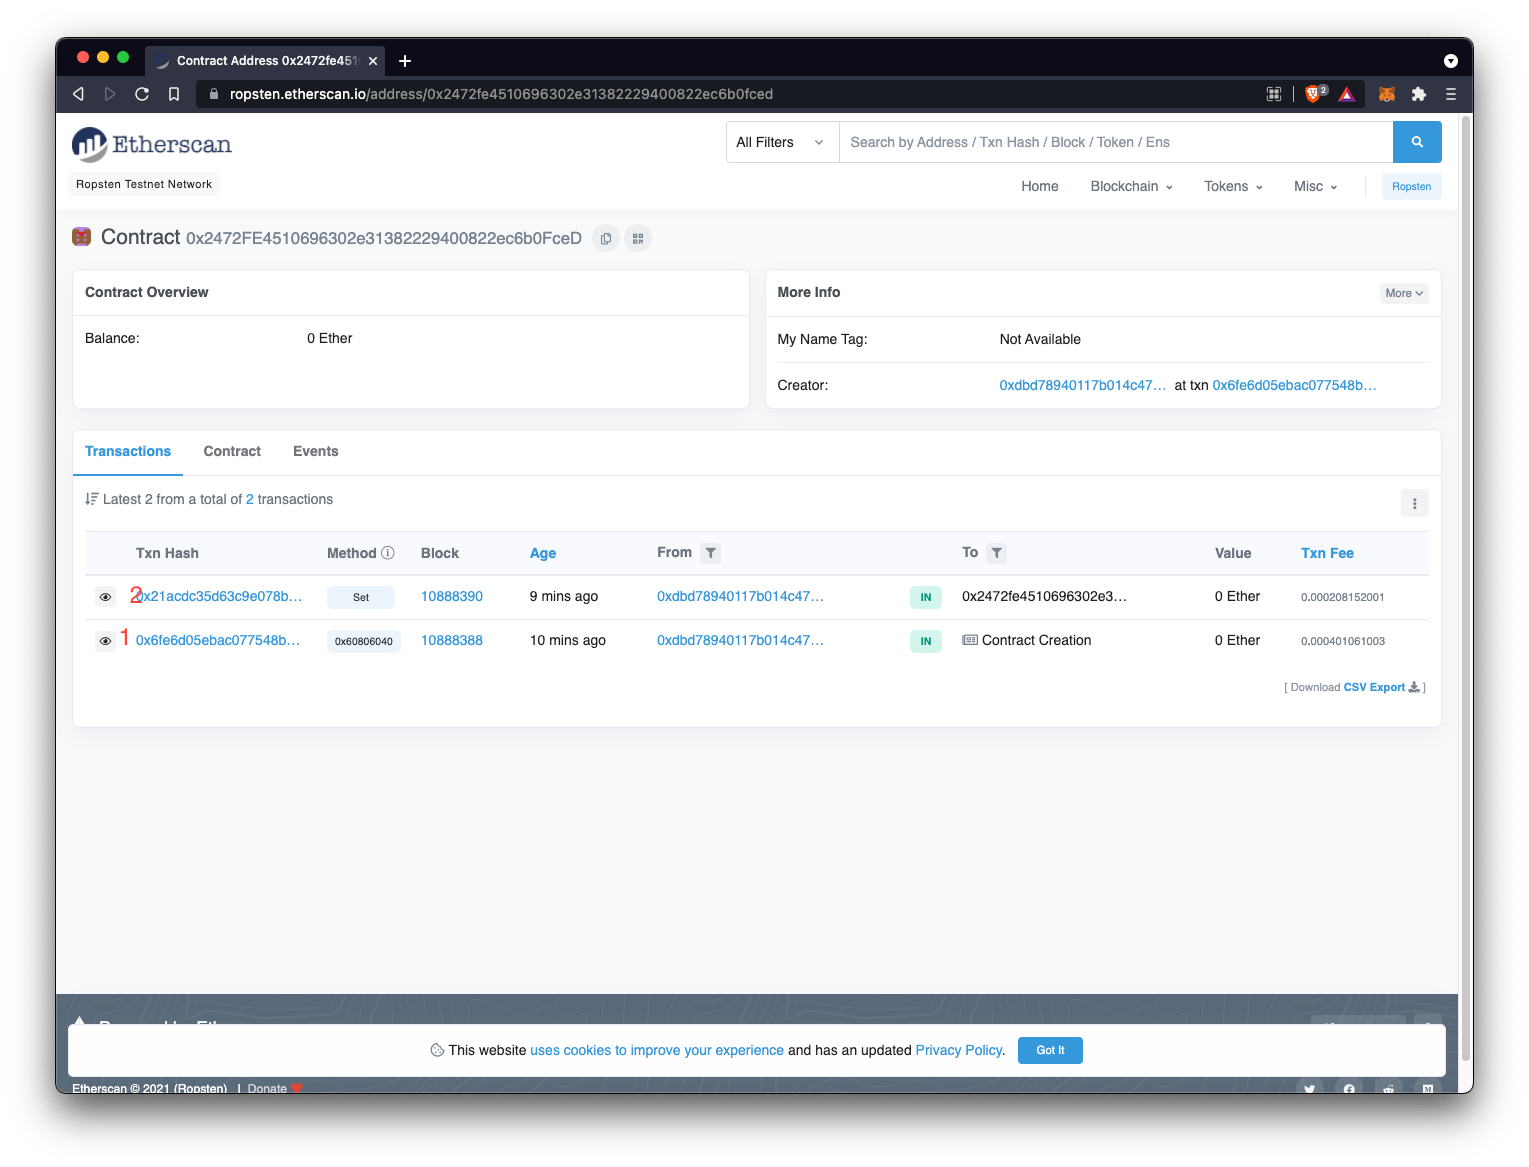
On the printscreen:
- Corresponds to the contract deployment
- Corresponds to the set data operation
If you click on the Txn Hash of the Set Method, you should see our Sensor Data !

Congrats! We are all done now.
I hope you enjoyed this tutorial, feel free to reach out!
![🧰 Web3 [Serie Part 7/10] - Listen to Smart Contract Events](/content/images/size/w750/2021/09/web3js-tutorial-part0-7.png)
![🧰 Web3 [Serie Part 6/10] - Send Ether to a Smart Contract](/content/images/size/w750/2021/09/web3js-tutorial-part0-6.png)
![🧰 Web3 [Serie Part 5/10] - Send Transactions to a Smart Contract (sendTransactions API)](/content/images/size/w750/2021/09/web3js-tutorial-part0-5.png)